
Glade Wax Warmer Instructions: Use, Clean, Troubleshoot
A Glade wax warmer is one of the simplest ways to fill a room with fragrance, no open flame, no fuss. But if you've just pulled one out of the box (or rediscovered one in a closet), you might need a refresher on the Glade wax warmer instructions to get it running properly. Small details like wax load amount and cleaning timing make a real difference in how well these units perform.
At Small Flame Candle Company, we work with wax warmers and hand-poured wax products every day. We sell our own line of warmers and wax melts, so we know what makes these devices tick, and what causes them to underperform. That hands-on experience is exactly what shaped this guide.
Below, you'll find step-by-step setup instructions, cleaning methods, and fixes for the most common issues Glade wax warmer owners run into. Whether your warmer won't heat, your wax smells weak, or you're just not sure how to swap scents, this article covers it.
What you need before you start
Before you follow any glade wax warmer instructions, gather everything in one place. Having the right supplies on hand makes setup smooth and keeps you from stopping mid-process to hunt for something you forgot.
Your Glade wax warmer unit
Your warmer should include a plug-in base and a removable wax dish, sometimes called a dish tray or warmer bowl. Check that both parts are present and free of cracks before you plug anything in. Glade makes several warmer styles, including plug-in units that go directly into an outlet and countertop models that use a power cord, so confirm which type you have since the setup steps differ slightly between them.
A cracked dish can cause melted wax to leak onto your outlet or surface, which creates both a safety risk and a difficult cleanup.
Wax melts and accessories
You'll need wax melts or scent pods that are compatible with your specific warmer model. Glade sells branded scent pods, but many third-party wax melts fit the dish-style warmers just as well. Beyond the wax itself, keep a few cotton balls or paper towels close by for soaking up leftover wax when you swap scents. A plastic scraper or an old butter knife also helps lift cooled wax without scratching the dish.
Here's a quick checklist so nothing gets missed:
| Item | Why you need it |
|---|---|
| Glade wax warmer (base + dish) | Core unit for heating wax |
| Wax melts or scent pods | The fragrance source |
| Cotton balls or paper towels | Wax removal between scents |
| Plastic scraper or butter knife | Lifting cooled wax cleanly |
| Flat surface near an outlet | Safe, stable placement |
Running through this list before you start saves you time and means your first scent session goes without any interruptions.
Set up your Glade wax warmer safely
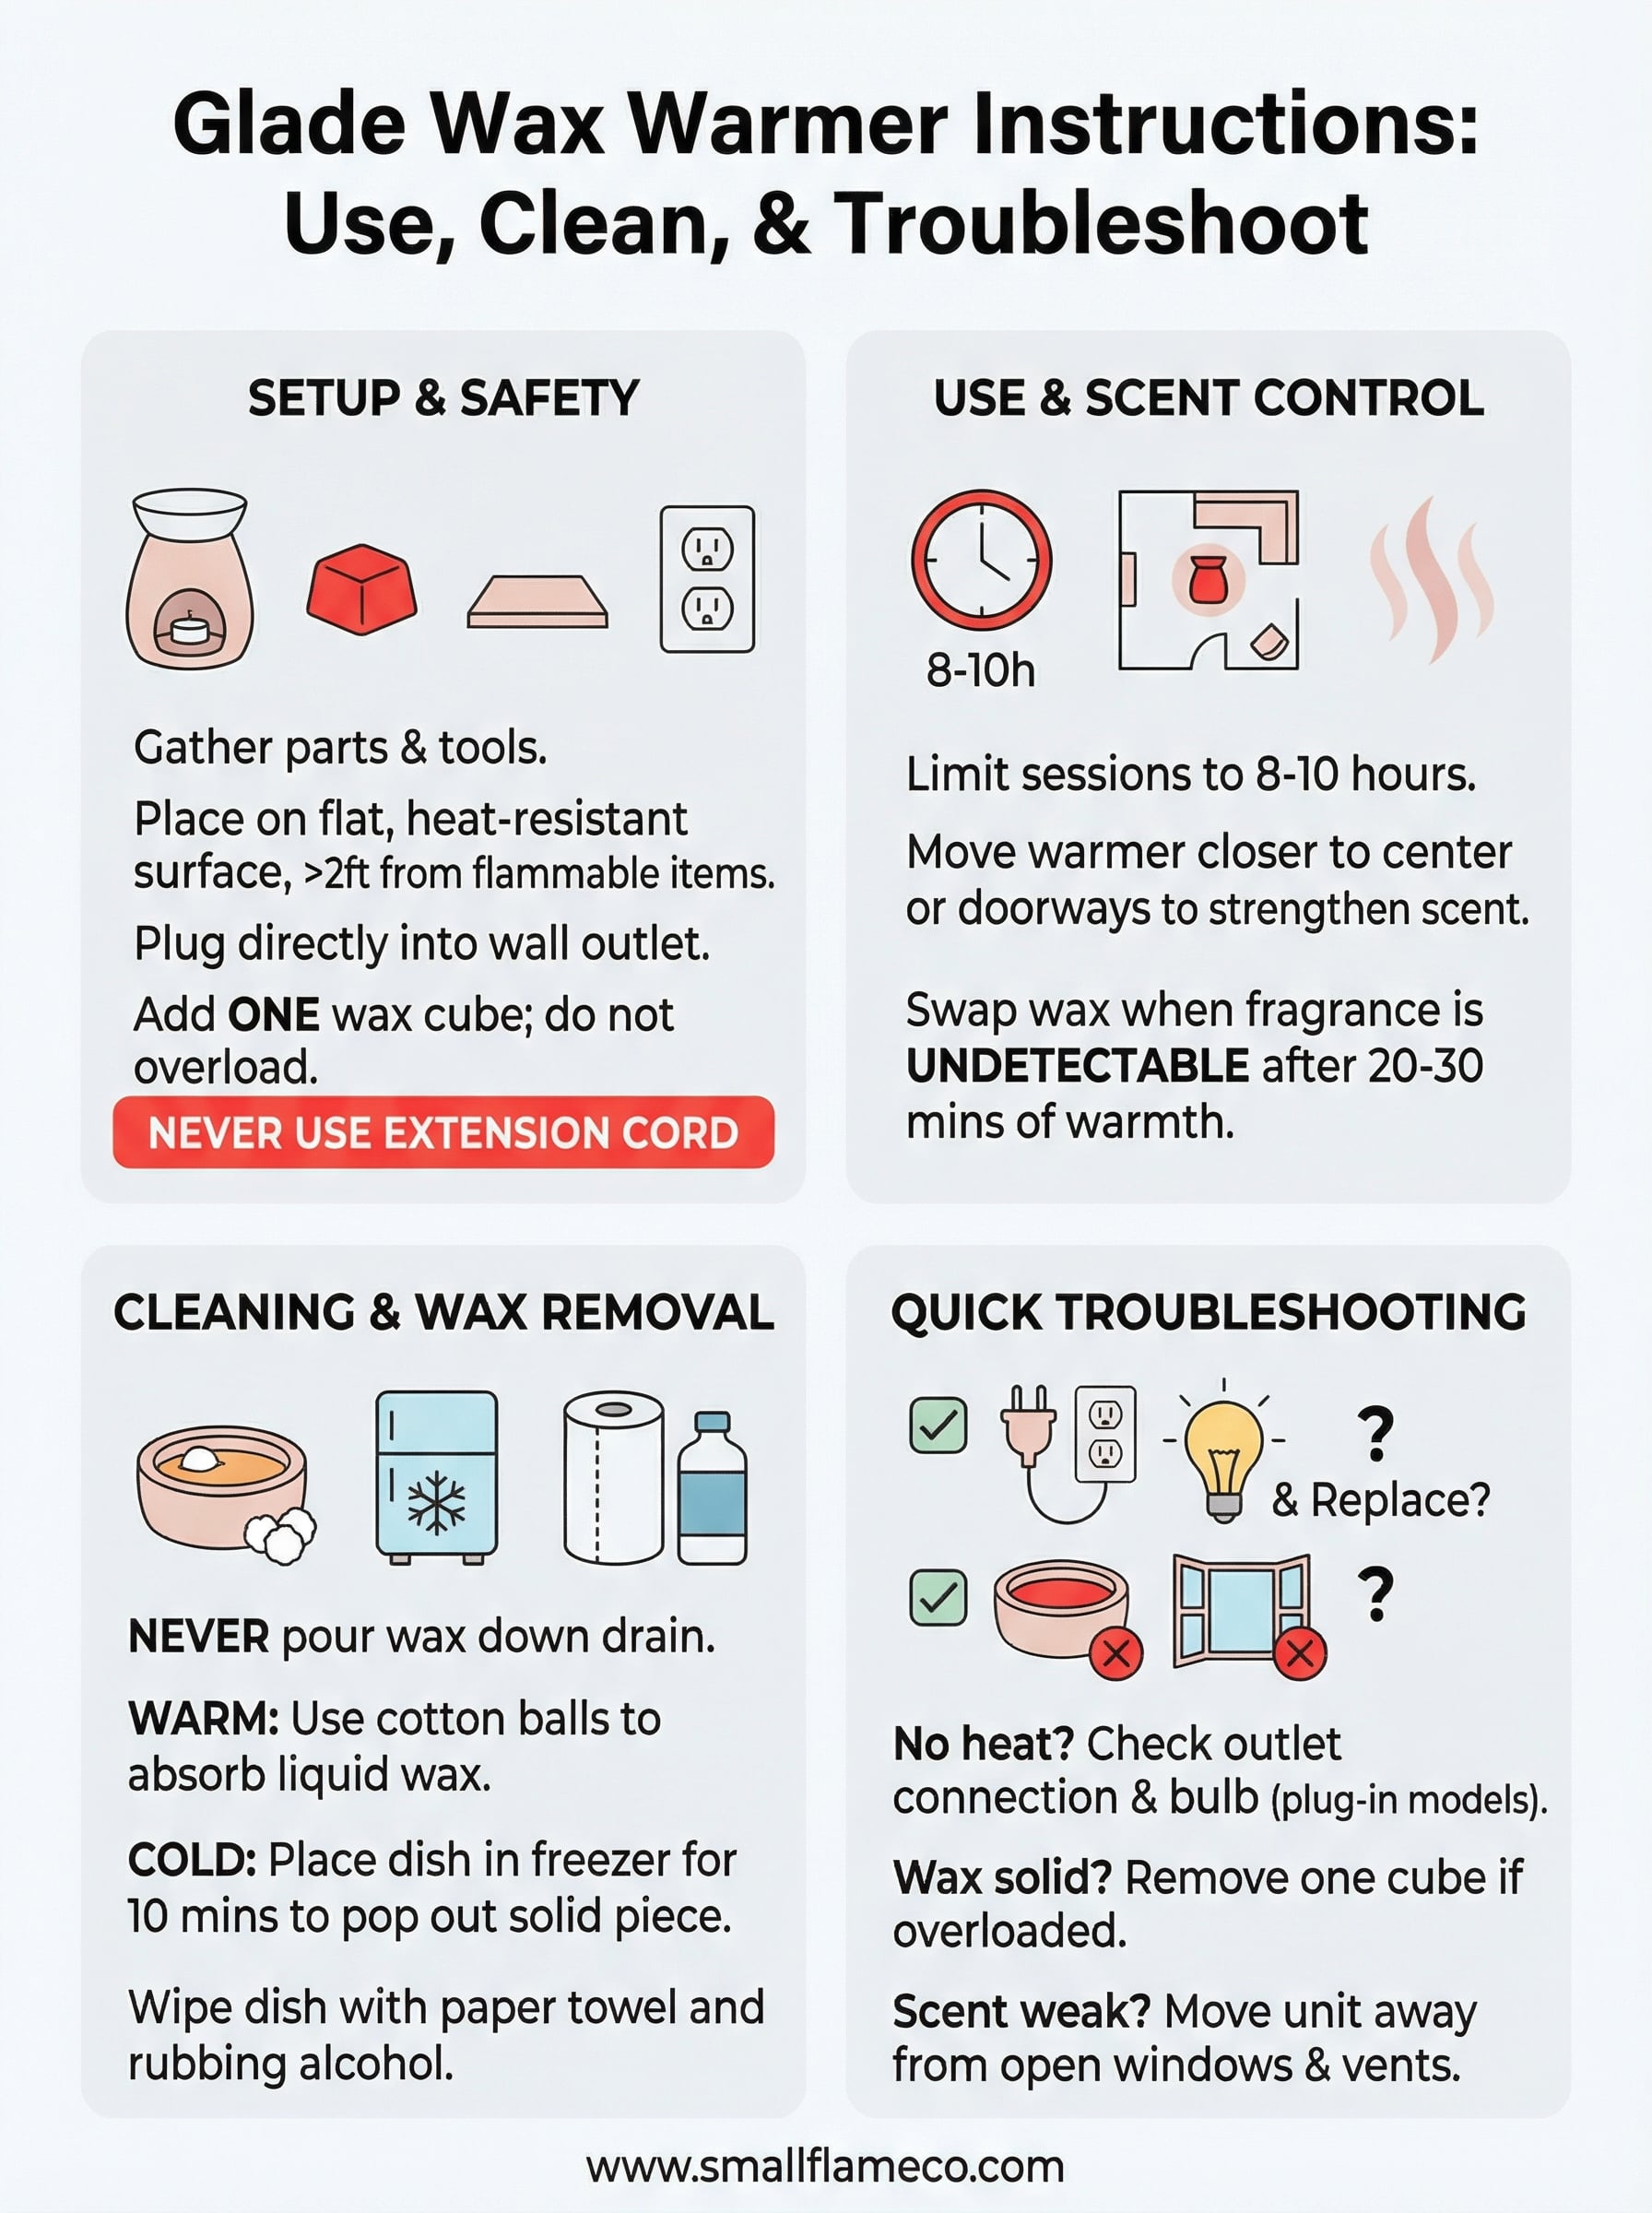
Following the glade wax warmer instructions from the start protects both your warmer and your home. Before you plug anything in, make sure your surface is flat, heat-resistant, and at least two feet away from curtains, paper, or anything flammable.
Place it correctly
Plug-in style warmers go directly into a wall outlet at a standard height, ideally one that is not behind furniture. Keep the dish facing upward and make sure the warmer sits level so the wax pools evenly once it melts. Countertop models need a sturdy surface well away from the edge.
Never plug your warmer into an extension cord or power strip, since warmers draw consistent heat and these connections can overheat over time.
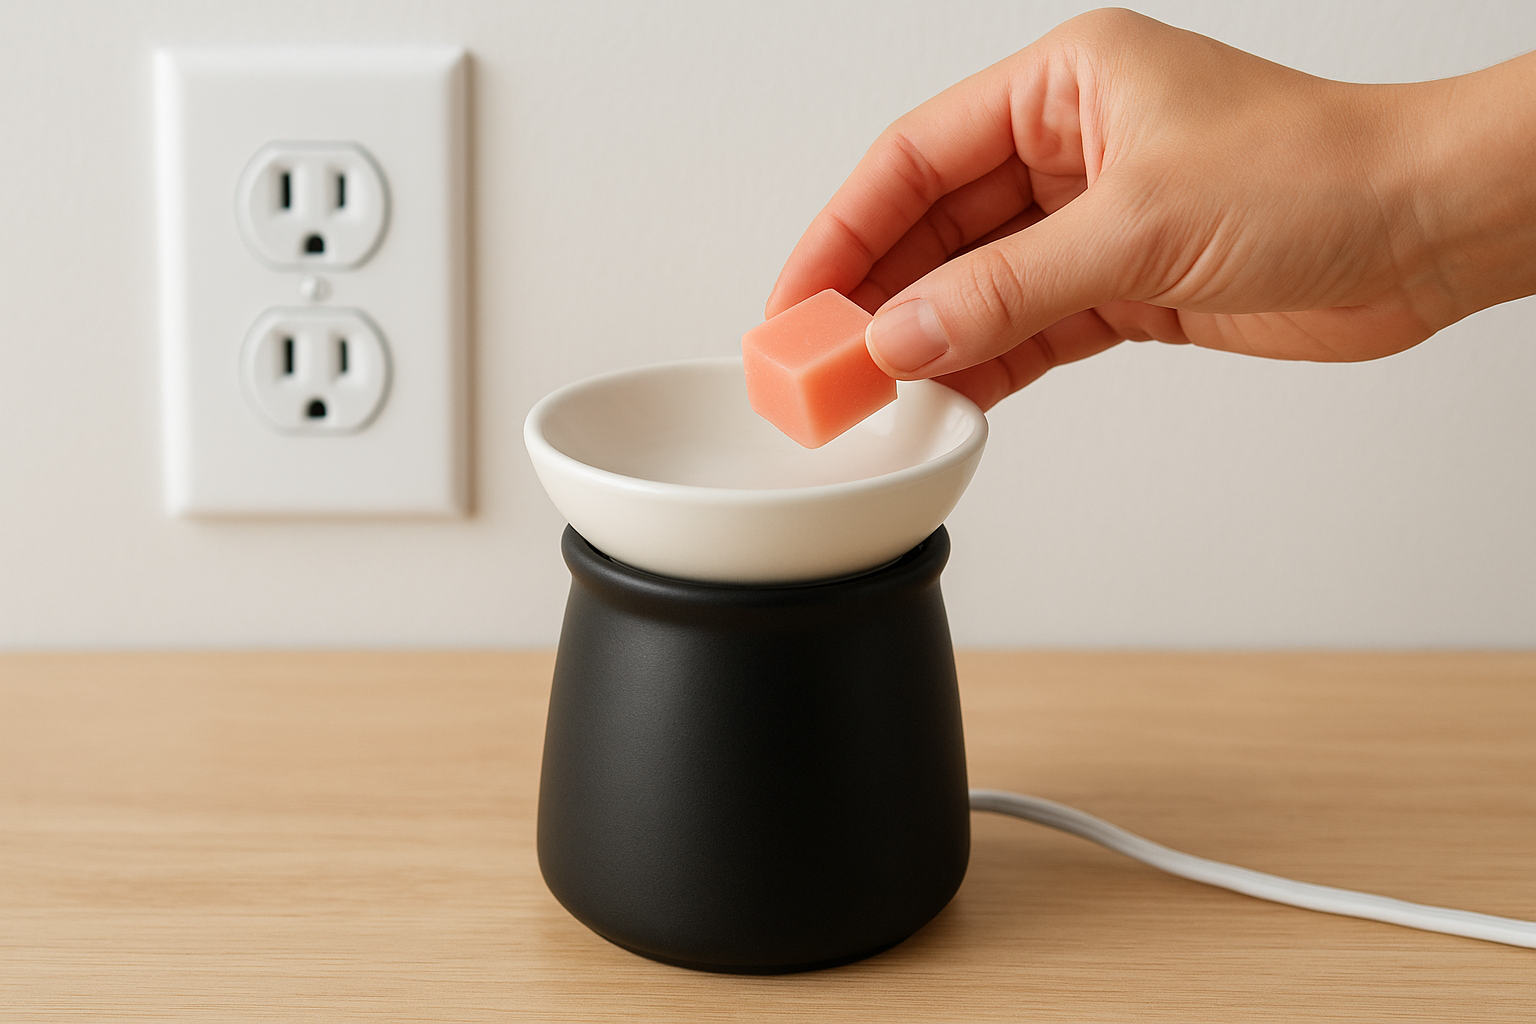
Add your wax melt
Once your warmer is in place, set one wax melt cube into the dish. One cube is enough for most standard-size dishes. Adding too much wax causes overflow once it liquefies, so resist the urge to fill the bowl completely. Your wax should sit below the dish rim by at least a quarter inch to give the liquid room to expand without spilling onto your outlet or surface.
Use it day to day and control scent
Once your warmer is running, daily use is straightforward. Most Glade wax warmer instructions recommend limiting sessions to no more than 8 to 10 hours at a stretch to protect the heating element and prevent the wax from losing its scent too quickly. When you leave the room for an extended period, turn the warmer off to conserve the wax.
Wax does not evaporate; it gradually loses its scent load, so the same wax can sit in the dish for days before it needs replacing.
Adjust scent strength
Your warmer's position in the room directly controls how strong the fragrance feels. If the scent feels too faint, try these adjustments before adding more wax:
- Move the warmer closer to the room's center
- Place it near a doorway to spread scent between rooms
- Keep it away from open windows that dilute fragrance
Know when to swap wax
Scent fades gradually, and your wax is spent when you can no longer detect fragrance even after the dish has been warm for 20 to 30 minutes. At that point, the wax has released its full scent load even though it still looks the same in the dish.
The color and texture of the wax will appear unchanged, but all the fragrance oil has already burned off. Clear the dish and start fresh with a new cube.
Clean it and change wax without a mess
Cleaning is quick when you follow the right sequence. The core rule from every set of glade wax warmer instructions: never pour liquid wax down a drain, since it solidifies and clogs pipes fast.
Let the dish cool completely before handling it to avoid burning your fingers or spilling hot wax.
Remove spent wax cleanly
The simplest method is the cotton ball technique. While the wax is still warm and liquid, press two cotton balls into the dish. They absorb the wax in seconds, and you lift them out and drop them straight in the trash.
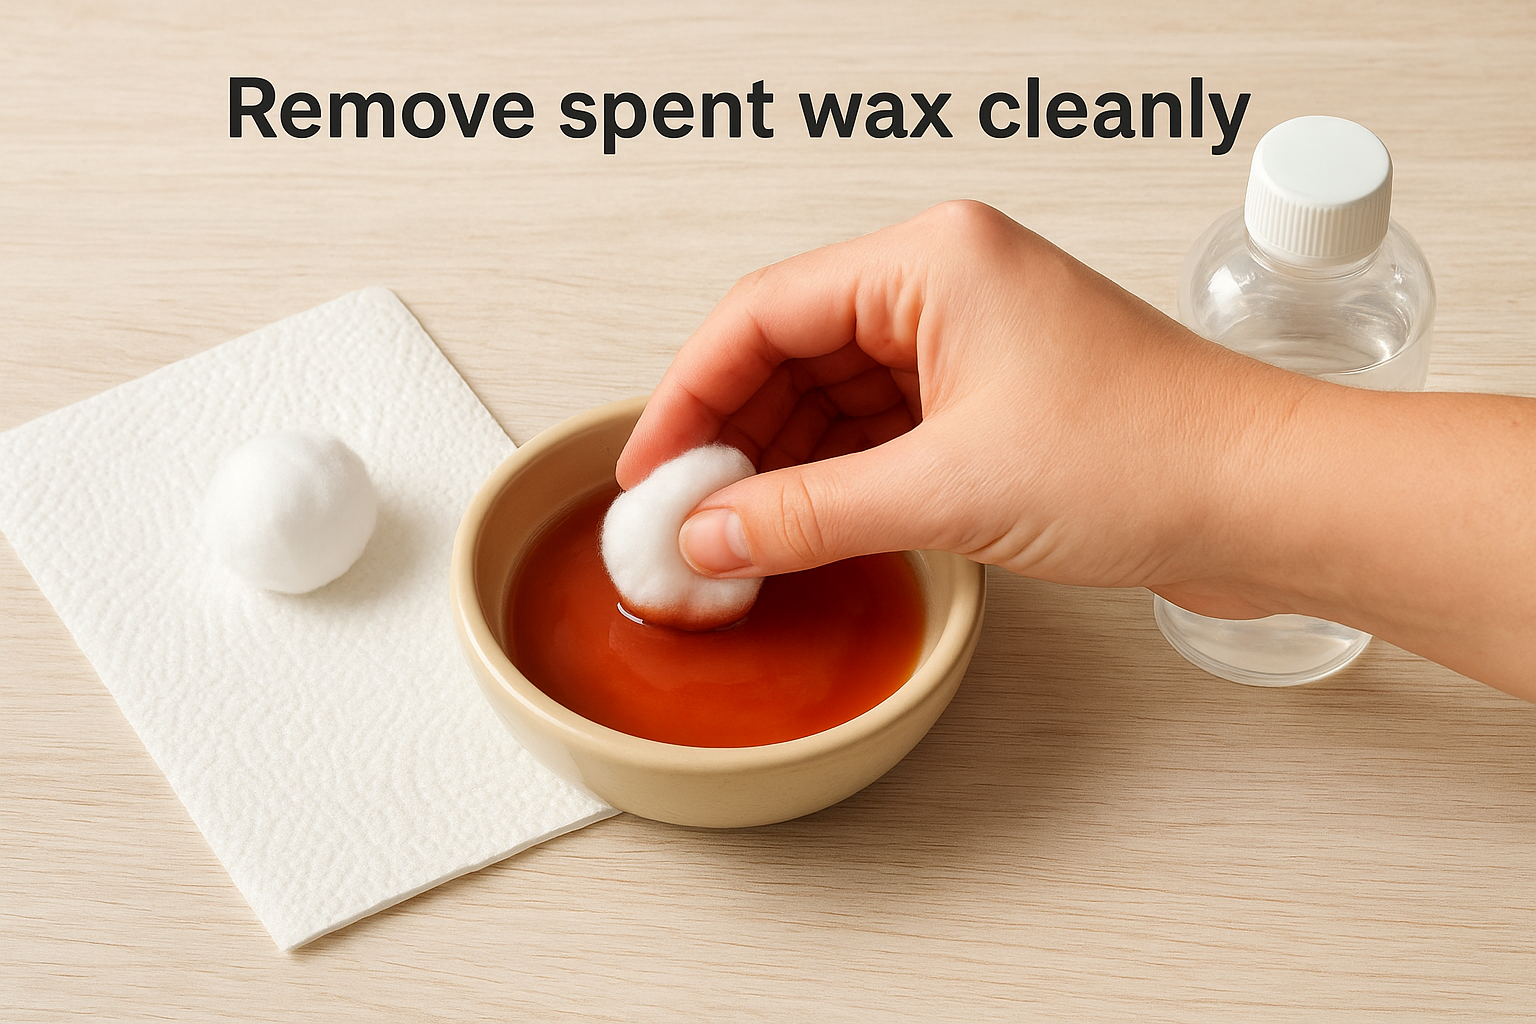
If you prefer cold removal, pop the dish in the freezer for 10 minutes. The wax contracts and lifts out as one solid piece with almost no residue left behind.
Wipe the dish between scents
Once the wax is out, wipe the dish with a dry paper towel. For leftover film, apply a small amount of rubbing alcohol to a fresh towel and buff the surface clean before adding your next cube.
| Situation | Cleaning method |
|---|---|
| Wax is still warm | Cotton ball absorption |
| Wax has cooled | Freezer method |
| Residue remains | Rubbing alcohol + paper towel |
Troubleshoot common Glade warmer problems
Most Glade wax warmer instructions cover setup but skip troubleshooting entirely. The good news is that most common problems have simple causes you can fix in under five minutes without any tools.
Quick fixes to check first
Start with the basics before assuming your warmer is broken. Check that the unit is firmly plugged into a working outlet and that the dish sits level. For countertop models, inspect the power cord for visible damage near the plug end, since that is where wear typically shows first.
If your plug-in warmer uses a bulb, it may have burned out. Check your unit's model number and look up the correct replacement bulb size before buying a new one.
| Problem | Most likely cause | Fix |
|---|---|---|
| No heat at all | Faulty outlet or burned bulb | Test outlet, replace bulb |
| Wax stays solid | Dish overloaded | Remove one cube |
| Scent is faint | Poor placement or spent wax | Move unit, swap cube |
When scent disappears quickly
Scent fading fast usually means the wax has already released its fragrance load. Add a fresh wax cube and move the warmer away from open windows or air vents that pull fragrance out of the room before it has a chance to settle.
Quick recap
Following the glade wax warmer instructions in this guide gives you everything you need to run your warmer safely, keep it clean, and fix the most common problems without guesswork. Start with one wax cube in a level dish, limit each session to 8 to 10 hours, and clean the dish using the cotton ball method or the freezer trick each time the scent fades out.
When your warmer underperforms, check the outlet connection and wax load before assuming something is broken. Most problems trace back to a burned-out bulb, an overloaded dish, or poor room placement, all of which you can correct in minutes.
If you want a wax melt that delivers strong, long-lasting fragrance without the mess of paraffin blends, check out the hand-poured coconut wax melts from Small Flame Candle Co. They fit dish-style warmers and are made from a clean, eco-friendly coconut-soy blend designed for a soot-free burn.