
How To Burn A Candle Properly For An Even, Clean Burn Safely
You spent good money on a candle you love, and then it tunnels down the center, drowns the wick, or throws off black soot after a few uses. Frustrating, right? Knowing how to burn a candle properly makes the difference between a candle that wastes half its wax and one that burns clean from the first light to the last. Most burning problems aren't caused by bad candles; they're caused by a few small, fixable habits.
At Small Flame Candle Company, we hand-pour every candle we sell, so we know exactly how our wax and wicks are supposed to perform. We also know that even a well-made candle can underperform if it isn't burned correctly. That's why we put this guide together, to share what we've learned through years of testing, pouring, and burning so you can get the longest, cleanest burn possible out of every candle you own.
Below, you'll find step-by-step instructions covering everything from your first burn to wick maintenance, burn times, and basic safety. Whether you're new to candles or just tired of dealing with uneven wax pools, this guide will walk you through each fix so you can enjoy a candle that performs the way it should.
What to do before you light the wick
Before you even strike a match, a few minutes of prep work determine how your candle performs. Most burning problems start before the flame ever appears, and skipping these steps is the main reason candles tunnel, smoke, or burn unevenly from the start. Proper setup is the foundation for how to burn a candle properly, and it takes less than five minutes to get right.
Trim the wick before every burn
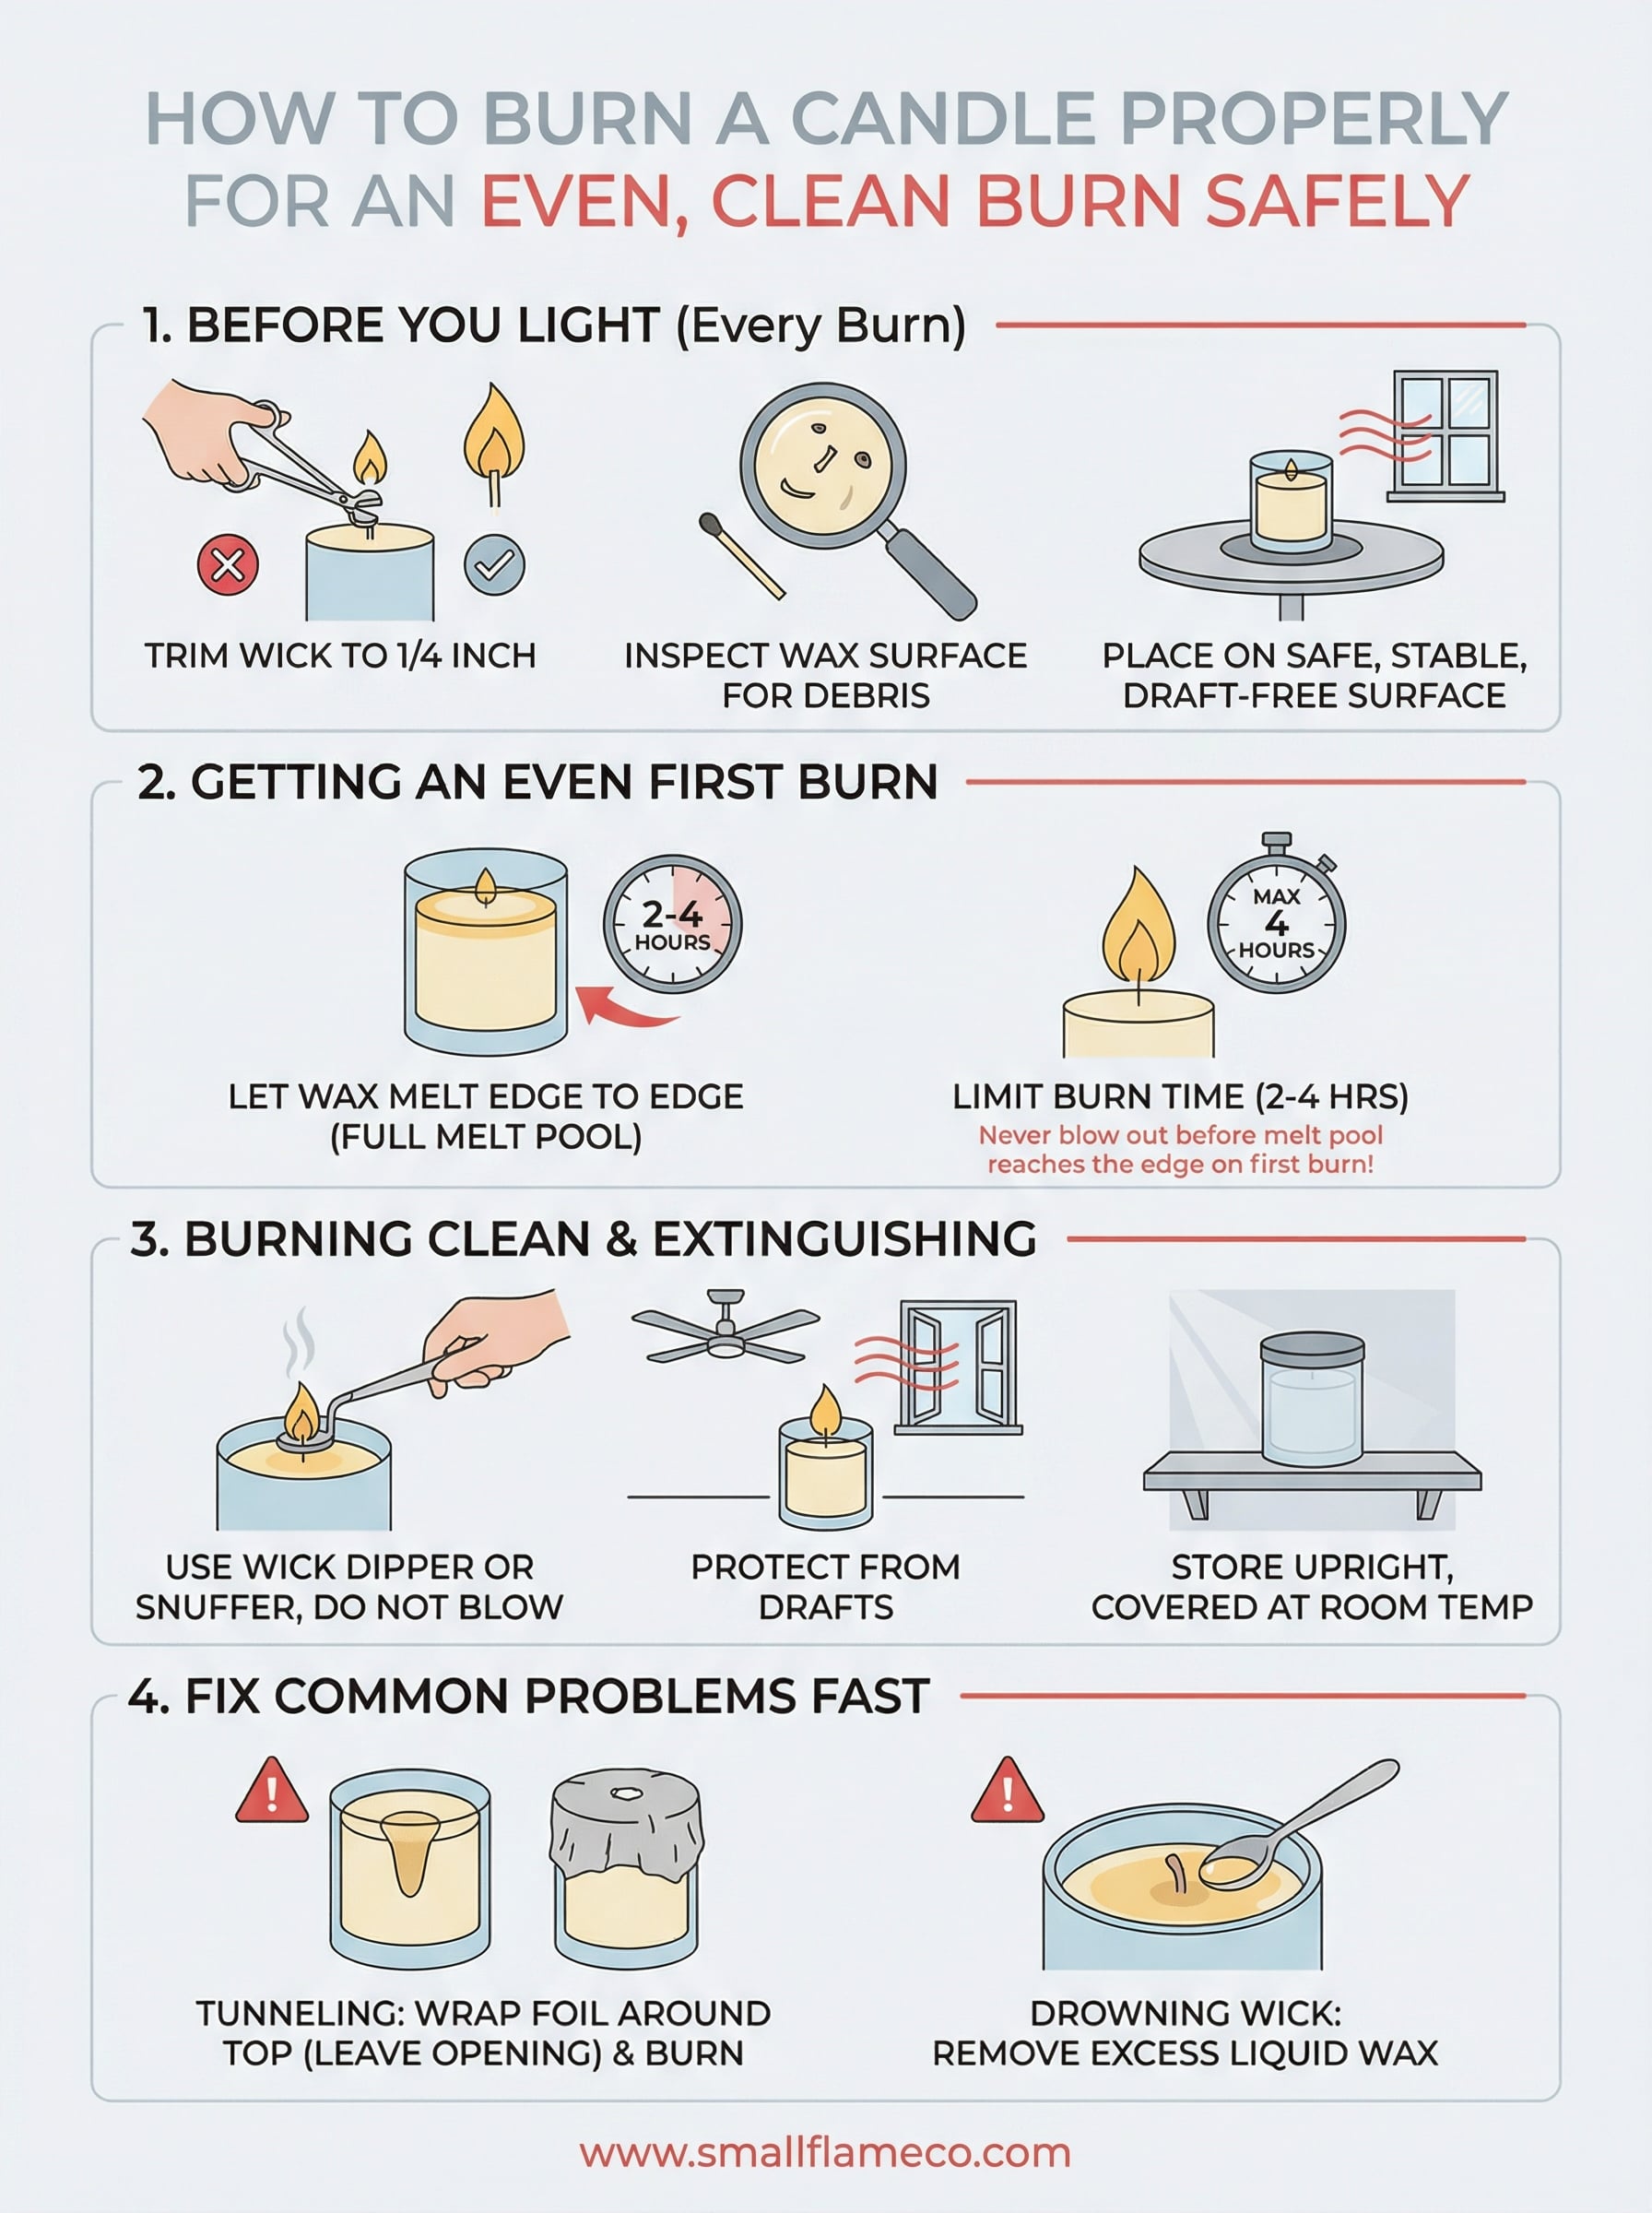
Wick length controls both the size of your flame and how much heat reaches the wax. A wick longer than 1/4 inch produces a flame that burns too hot and too fast, which leads to excessive sooting on jar walls, rapid wax consumption, and an uneven melt pool. Before every single burn, trim your wick down to 1/4 inch using a wick trimmer, small scissors, or nail clippers. Remove the trimmed piece from the candle completely before lighting.
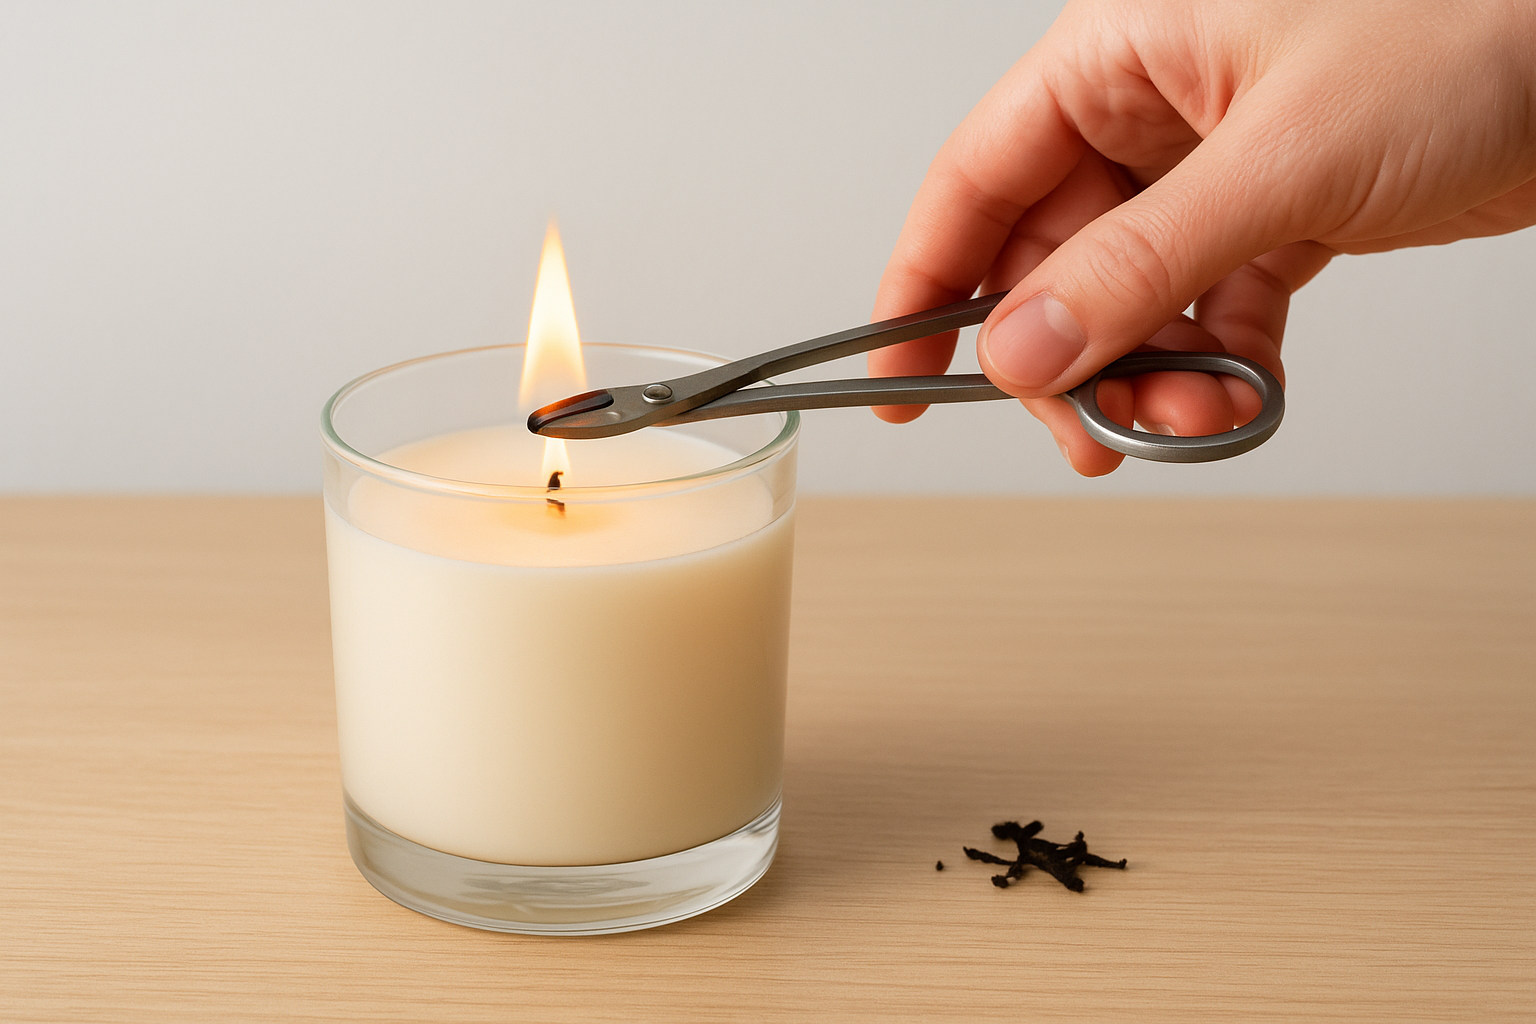
A wick that's too long is the single most common cause of black soot on jar walls and wax that tunnels straight down the center.
Here's a quick guide to what different wick conditions cause and how to fix them:
| Wick condition | Problem it causes | Fix |
|---|---|---|
| Longer than 1/4 inch | Large flame, soot, fast burn | Trim to 1/4 inch |
| Mushroomed tip (carbon buildup) | Flickering, smoking | Pinch off the buildup |
| Off-center wick | Uneven wax melt | Reposition before lighting |
| Too short (under 1/8 inch) | Flame drowns in wax | Do not trim further |
Inspect the wax surface before lighting
Always check the wax surface for debris before you light the candle. Wick trimmings, dust, or any foreign material sitting in the wax pool can catch fire independently or push the wick off to one side. Clear the surface completely so your wick has a clean, unobstructed start every time you burn.
Place the candle on a safe, stable surface
Your candle needs a flat, heat-resistant surface and a draft-free location. Keep it away from open windows, fans, and air vents, since moving air pushes the flame to one side and causes the wax to melt unevenly. A stable, level surface also prevents hot liquid wax from pooling on one edge, which shortens burn time and can crack glass containers over repeated uses.
How to get an even first burn
The first burn is the most important burn. Wax develops a "memory" during its first melt, which means the wax pool from that first session sets the pattern for every burn that follows. Learning how to burn a candle properly starts with this first session, because a rushed or shortened first burn is the leading cause of tunneling in both paraffin and soy candles.
Let the wax melt edge to edge
Your goal on the first burn is simple: let the wax melt all the way to the edge of the container before you put the flame out. This is called reaching a full melt pool, and it prevents the wax from tunneling inward on future burns. Depending on the diameter of your candle, this typically takes between two and four hours. A wider candle takes longer, so plan your first burn session around that time frame before you light it.
Never blow out the candle before the melt pool reaches the edge on a first burn, no matter how short you planned to burn it.
Keep your burn time within limits
Every burn session should last no longer than four hours, even after the first burn. Burning longer than that overheats the wax, weakens the wick's anchor, and causes the flame to grow too large. Shoot for a minimum of two hours and a maximum of four hours per session to protect both the candle and your space.
How to burn cleanly each time
After nailing the first burn, every session that follows needs a few consistent habits to keep your candle performing well. Clean burning isn't complicated, but it does require you to repeat the same small steps each time you light your candle. Understanding how to burn a candle properly means treating every session with the same care you gave the first one.
Trim and check the wick every single time
Trim your wick to 1/4 inch before each burn, not just the first one. Carbon builds up on the wick tip after every session, and that buildup causes the flame to flicker, grow too tall, and throw off black smoke. If you notice a mushroom-shaped tip on the wick after a burn, let the wax cool completely, then pinch or trim it off before you light the candle again. Remove any debris from the wax surface while you're at it.
Skipping a single wick trim can leave soot marks on your jar walls that won't wipe off cleanly.
Protect the flame from drafts
Moving air is one of the biggest enemies of a clean burn. Even a slow ceiling fan or a nearby vent can push your flame to one side and cause the wax to melt unevenly across the surface. Keep your candle away from open windows, fans, and high-traffic areas where people walking past can disturb the flame. A steady, calm flame melts the wax evenly and produces far less smoke than one that flickers constantly.
How to put out and store your candle
How you extinguish and store your candle directly affects its performance on the next burn. A few careless habits here lead to off-center wicks, dusty wax surfaces, and scent loss between sessions.
Use a wick dipper or snuffer, not your breath
Blowing out a candle sends smoke straight up from the wick and often pushes hot liquid wax off-center, repositioning the wick before the wax solidifies. Instead, use a wick dipper to bend the wick briefly into the liquid wax, then lift it back upright. This extinguishes the flame cleanly, coats the wick for an easier next light, and produces almost no smoke.
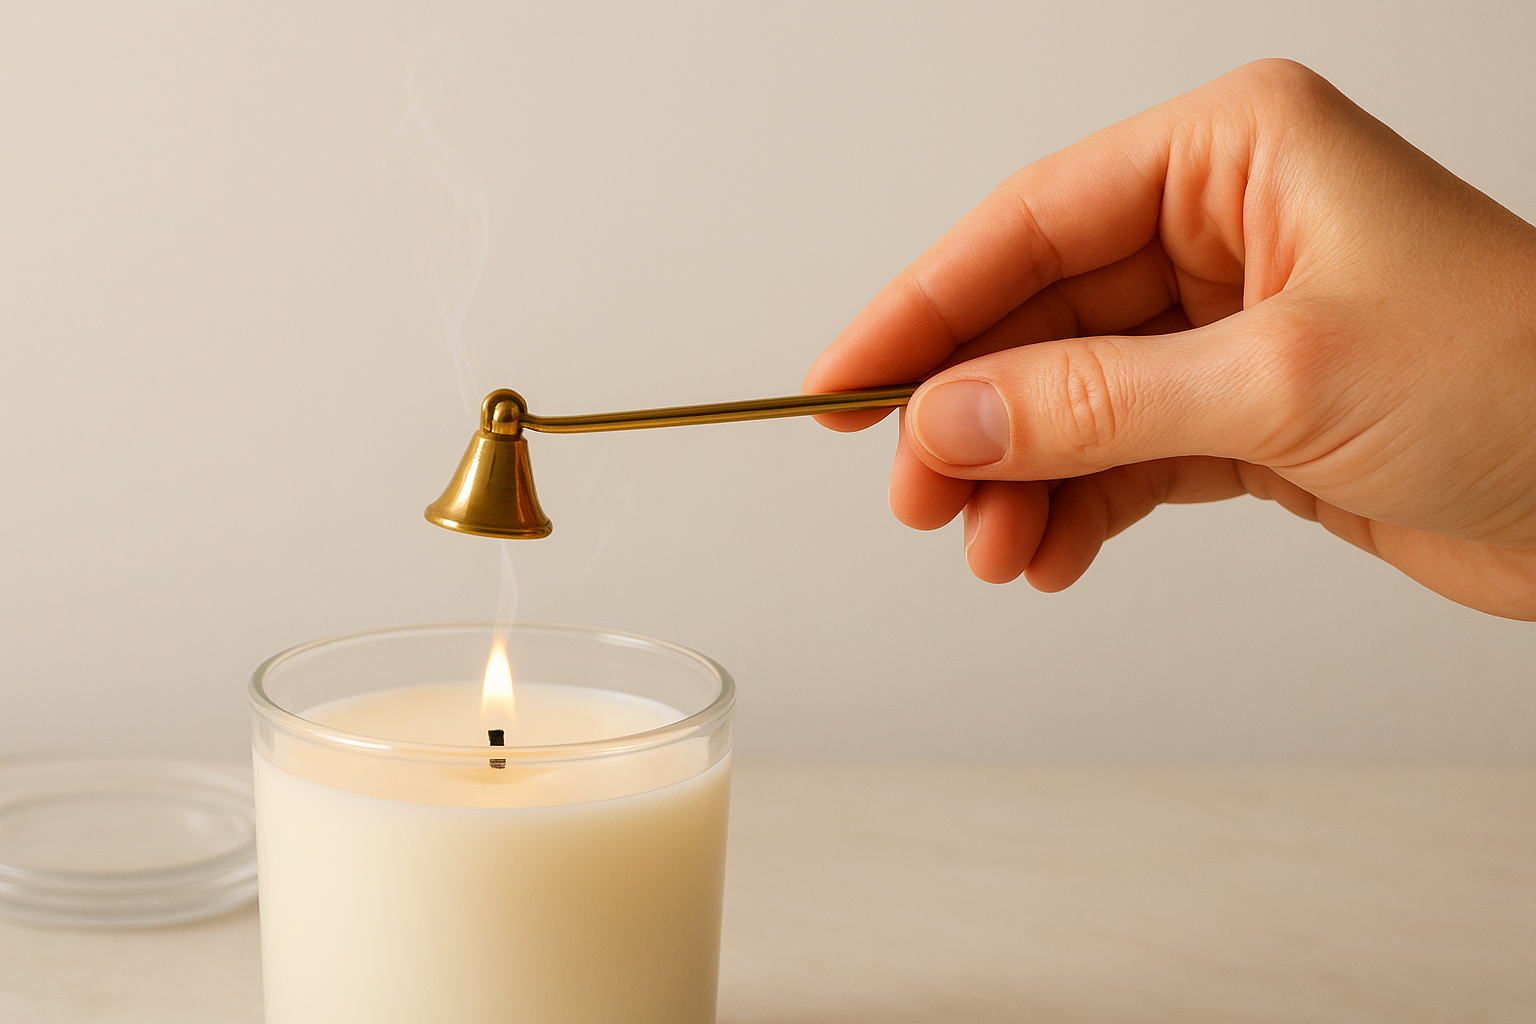
A wick dipper is a small investment that prevents soot marks, smoke smell, and a displaced wick every single time you put out your candle.
A snuffer works well as a second option if you don't have a dipper. Never use a lid to smother the flame unless the manufacturer specifically designed it for that purpose, since cutting off oxygen too abruptly can crack the glass.
Store your candle the right way
Good storage protects both the scent throw and the wax surface between burns. Follow these steps each time you put your candle away:
- Replace the lid to keep dust and debris off the wax
- Keep it out of direct sunlight, which fades fragrance and discolors wax
- Store at room temperature, away from radiators and sunny windowsills
- Set it upright on a flat surface so the wax stays level
These habits are part of knowing how to burn a candle properly, and they make sure your next session starts as clean as this one ended.
Fix common candle problems fast
Even when you know how to burn a candle properly, issues can still come up. Tunneling, soot buildup, and drowning wicks are the most common complaints, and each one has a clear, specific fix. Catching these problems early on the second or third burn is always easier than trying to reverse damage after a dozen sessions.
A quick fix applied at the first sign of a problem will save far more wax than any amount of careful burning after the damage is done.
Tunneling
Tunneling happens when wax burns straight down around the wick instead of melting to the edges. If you catch it early, simply run a full two-to-four-hour burn and let the melt pool reach the container wall.
If the tunnel is already deep, wrap aluminum foil around the top of the jar, leave a small opening over the wick, and burn for two hours. The trapped heat softens the outer wax and brings it back down level.
Drowning wick and soot buildup
A wick buried in liquid wax will sputter and die quickly. Carefully remove a small amount of liquid wax using a spoon or turkey baster into a heat-safe container, then let the wax cool and resolidify before you relight. Never pour excess wax down the drain.
Black soot on jar walls almost always points to a wick that was too long or a candle placed near a draft. Wipe the cooled glass with a damp cloth, trim the wick back to 1/4 inch, and move the candle away from any air source before the next session.
You're ready to burn it right
Knowing how to burn a candle properly comes down to a handful of repeatable habits: trim the wick before every burn, allow a full first melt pool, respect the four-hour burn limit, and snuff the flame cleanly every time. Each step is simple on its own, but doing all of them consistently is what separates a candle that tunnels after three uses from one that burns clean to the very bottom.
You now have everything you need to get strong performance out of every candle you own. Start with the prep work, run a full first burn, and keep those wicks trimmed between sessions. If you're ready to put these habits to work with a candle built to perform, browse the hand-poured coconut wax candles at Small Flame Candle Co., crafted with lead-free cotton wicks and toxin-free fragrance oils for a clean, long-lasting burn from the very first light.