
How Often To Trim Candle Wick: For Cleaner, Safer Burns
That black, mushroom-shaped buildup on top of your candle wick isn't just ugly, it's actively working against you. It causes soot, uneven melting, and flickering that can become a safety hazard. The fix is simple: know how often to trim candle wick before lighting up. The short answer? Every single time you burn it, trimming to about 1/4 inch before striking a match.
At Small Flame Candle Company, we hand-pour every candle we sell, and we've seen firsthand how a small maintenance habit like wick trimming completely changes the burning experience. A properly trimmed wick means a cleaner flame, a longer-lasting candle, and a more consistent scent throw from the first light to the last. Skipping this step is one of the most common reasons people think their candle "doesn't smell strong enough" or burns down too fast.
This guide covers everything you need to know about wick trimming, why it matters, how to do it correctly, what tools work best, and the common mistakes that shorten your candle's life. Whether you just picked up your first Small Flame candle or you've been burning candles for years, a few minutes of reading here will save you hours of burn time down the road.
Why wick trimming changes how your candle burns
The wick controls everything that happens when your candle burns. Its length directly affects flame height, heat output, and how evenly the wax melts across the surface. When you light a wick that's too long, it draws more wax than the flame can cleanly burn, which leads to incomplete combustion and visible black soot on the jar, the walls, and sometimes even your ceiling.
What an untrimmed wick does to your flame
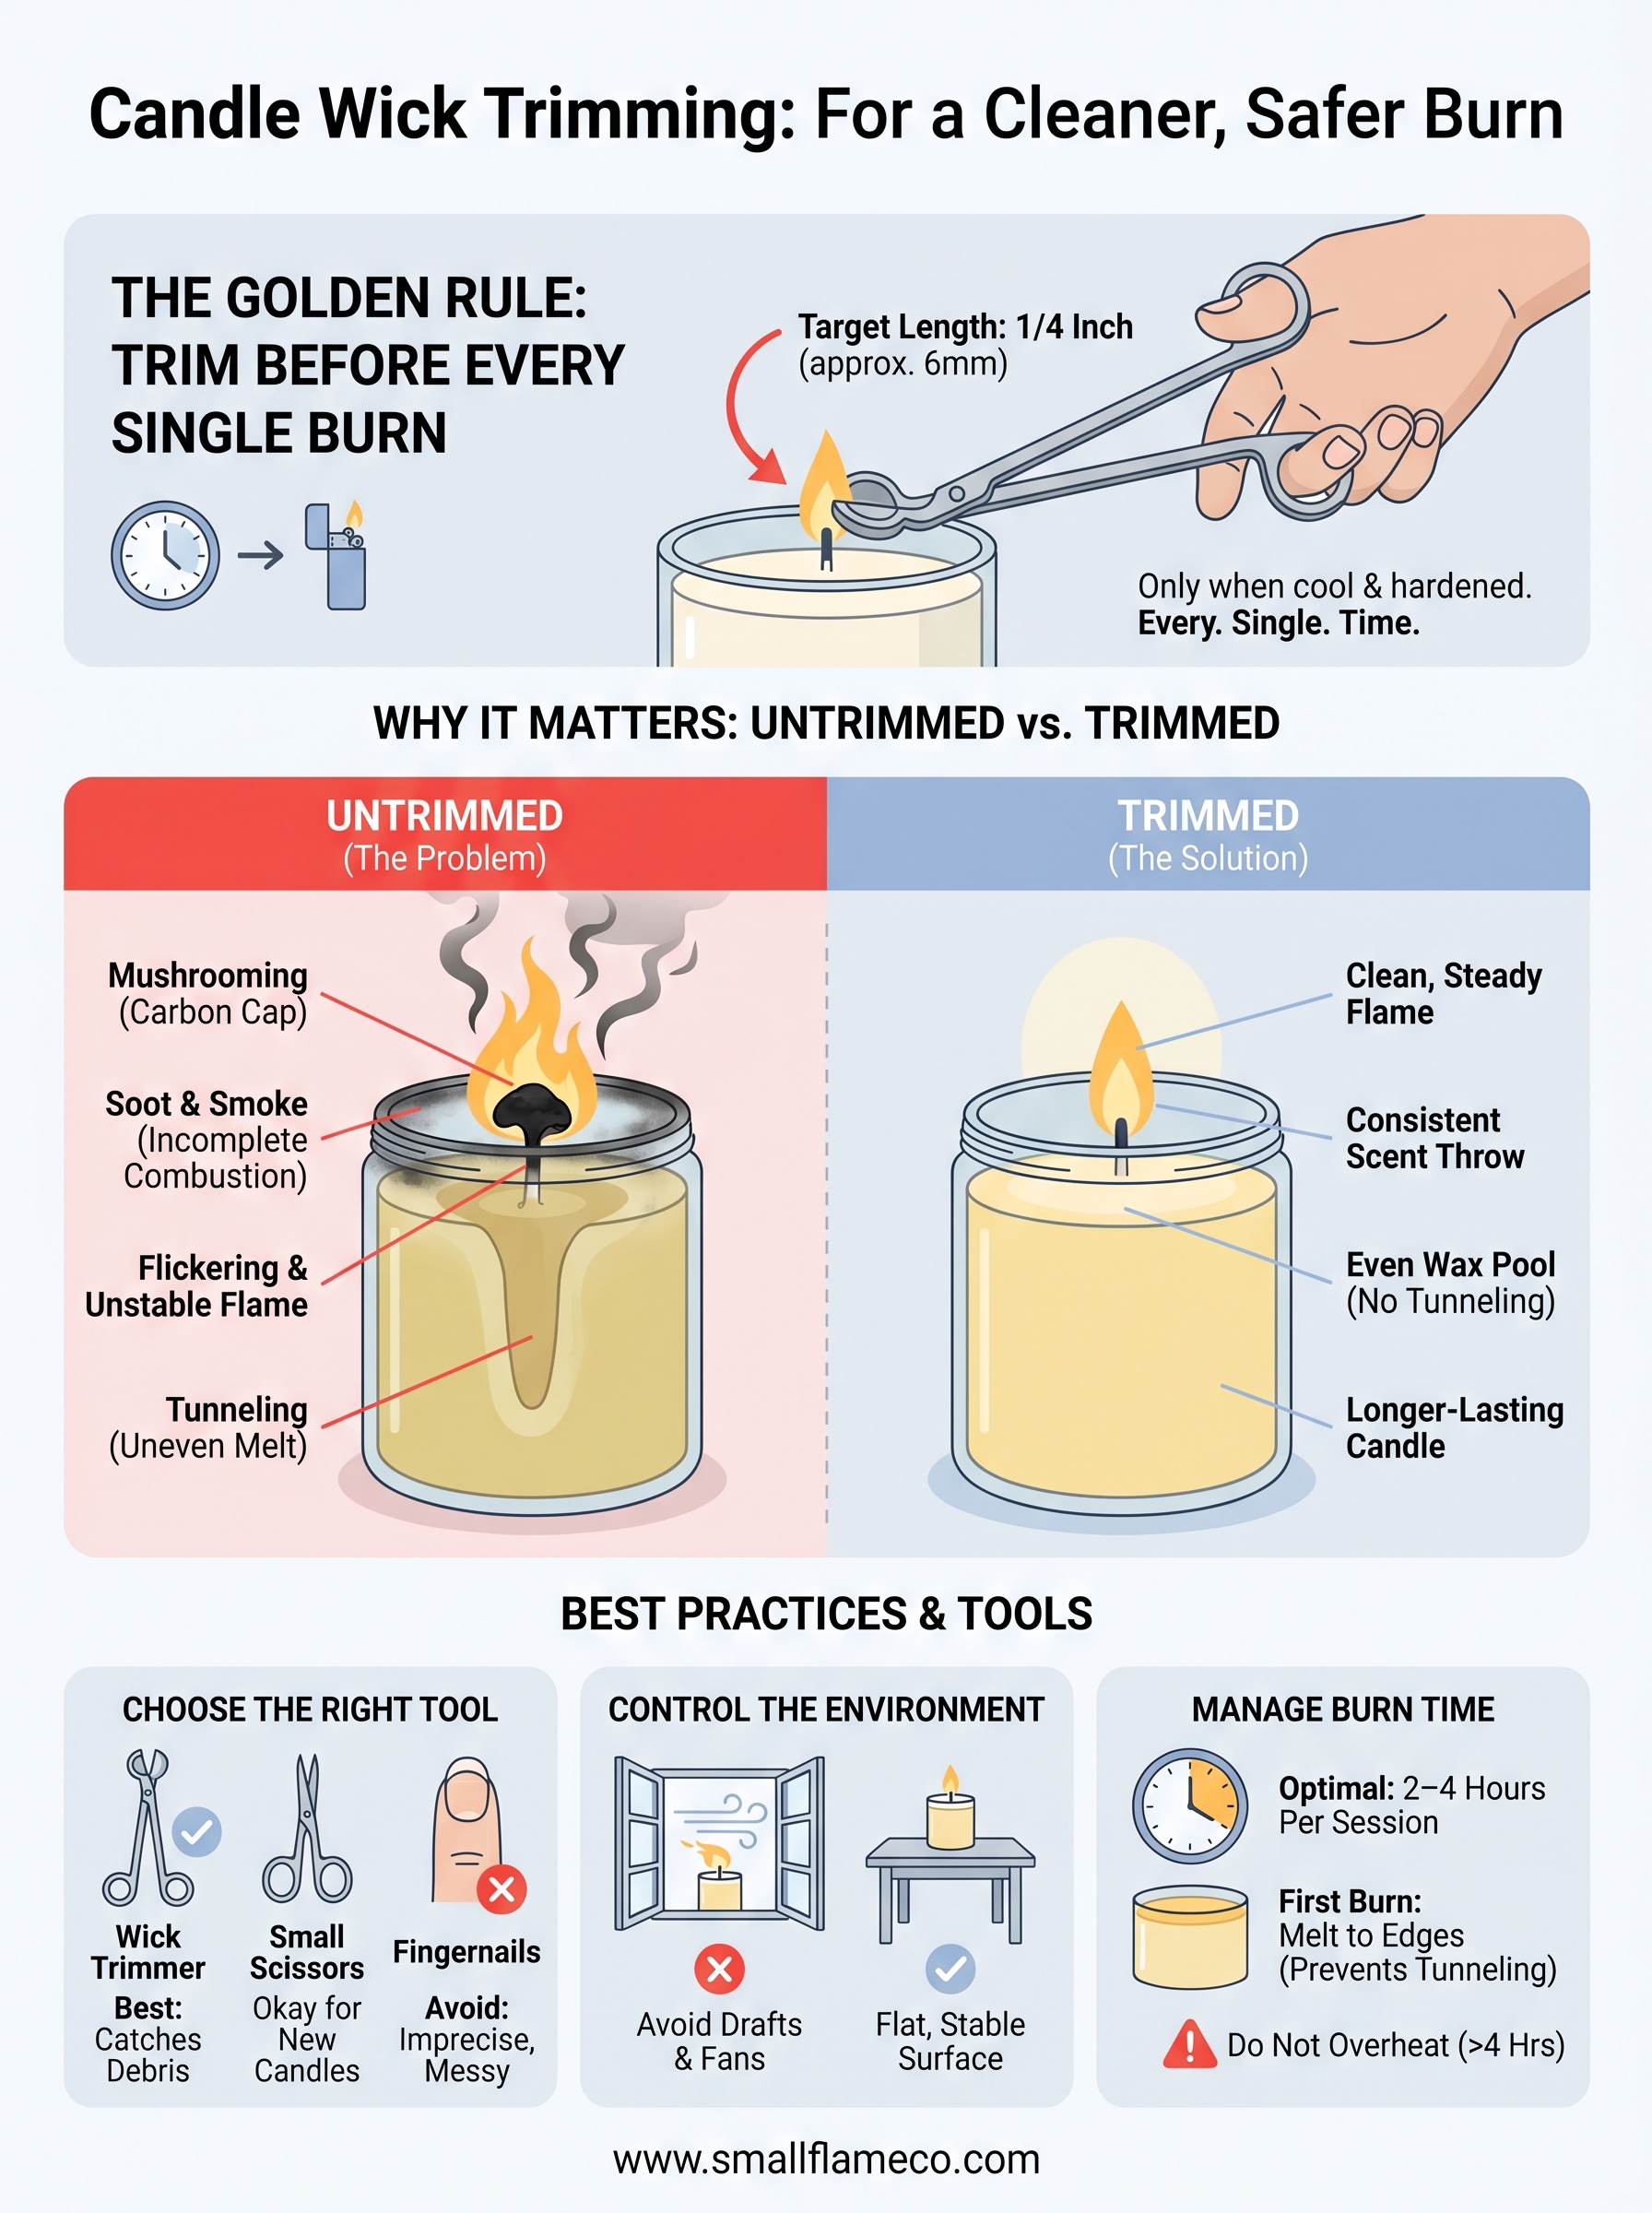
An untrimmed wick develops a carbon buildup at the tip, often called mushrooming, after just one burn. This carbon cap acts as a fuel hoarder, pulling excess liquid wax up into a flame that's already burning too hot and too large. The result is a flickering, unstable fire that produces smoke, throws off your scent balance, and causes the wax to tunnel straight down the center instead of melting edge to edge.
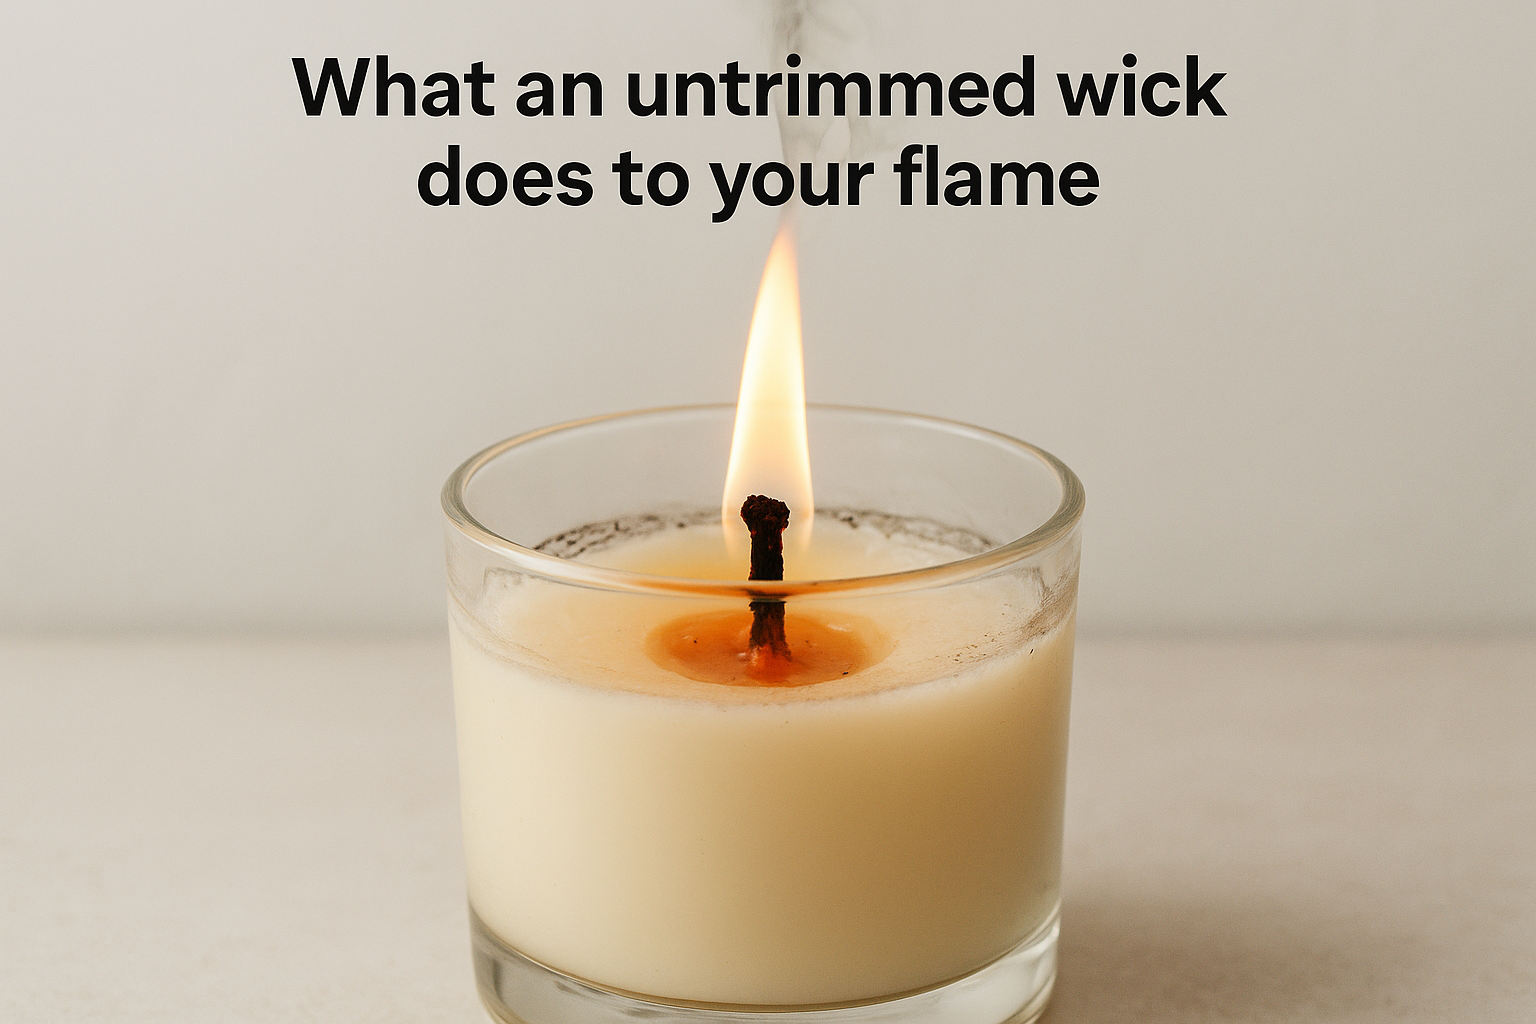
A flame that flickers constantly is drawing more fuel than it can cleanly combust, and this is the primary cause of black soot buildup inside candle jars.
Here's what an untrimmed wick typically produces:
- Flame height exceeding 2 inches
- Black smoke rising from the tip
- A soot ring forming inside the jar
- Uneven wax pooling, with a deep tunnel forming in the center
How trimming gives you control over the burn
Understanding how often to trim candle wick helps you take direct control of two things: flame temperature and wax consumption rate. A wick cut to 1/4 inch produces a steady, moderate flame that melts the wax pool at the right pace. This controlled burn allows fragrance oils to release evenly throughout the room rather than scorching off too fast from excessive heat.
Trimming also protects your candle container. Overheating from a tall flame can stress glass jars, causing micro-cracks or making the bottom of the jar uncomfortably hot to the touch. Keeping the wick at the correct length manages the heat output and keeps your candle performing the way it was designed to from the first burn to the last.
Step 1. Set your trimming schedule
The rule here is simple: trim your wick before every single burn, no exceptions. Knowing how often to trim candle wick comes down to one consistent habit rather than a complicated schedule. Every time you reach for a lighter, you should grab your wick trimmer first.
Trim before every burn, not just occasionally
A single burn session leaves carbon deposits at the tip of the wick. These deposits build up with every light, which means even a wick you trimmed yesterday needs attention before you light it again. Skipping one session lets the carbon cap grow large enough to affect flame quality and produce visible soot.
The most common mistake candle users make is trimming the wick once when they first buy the candle, then never touching it again.
Here is a quick reference schedule to keep on hand:
| Situation | Action |
|---|---|
| Before first burn (new candle) | Trim to 1/4 inch |
| Before every subsequent burn | Trim to 1/4 inch |
| After a burn session over 4 hours | Trim again before relighting |
| When you see mushrooming at the tip | Trim immediately after the wax cools |
What to do if you forget to trim
Let the candle cool completely, then trim the wick before your next burn. Never cut a wick while the wax is still liquid or the flame is still lit. A hardened, cooled wick cuts cleanly and keeps carbon debris out of your wax pool.
Follow these steps when you catch the mistake:
- Extinguish the flame and wait at least 2 hours for wax to fully harden
- Wipe away any loose carbon from the wax surface with a dry paper towel
- Trim to 1/4 inch before relighting
Step 2. Trim the wick to 1/4 inch safely
Once you understand how often to trim candle wick, the next step is doing it correctly. The target length is always 1/4 inch, measured from the top of the hardened wax to the tip of the wick. Cutting too short weakens the flame and prevents a full wax pool from forming. Cutting too long brings you back to the soot and mushrooming problems you're trying to avoid.
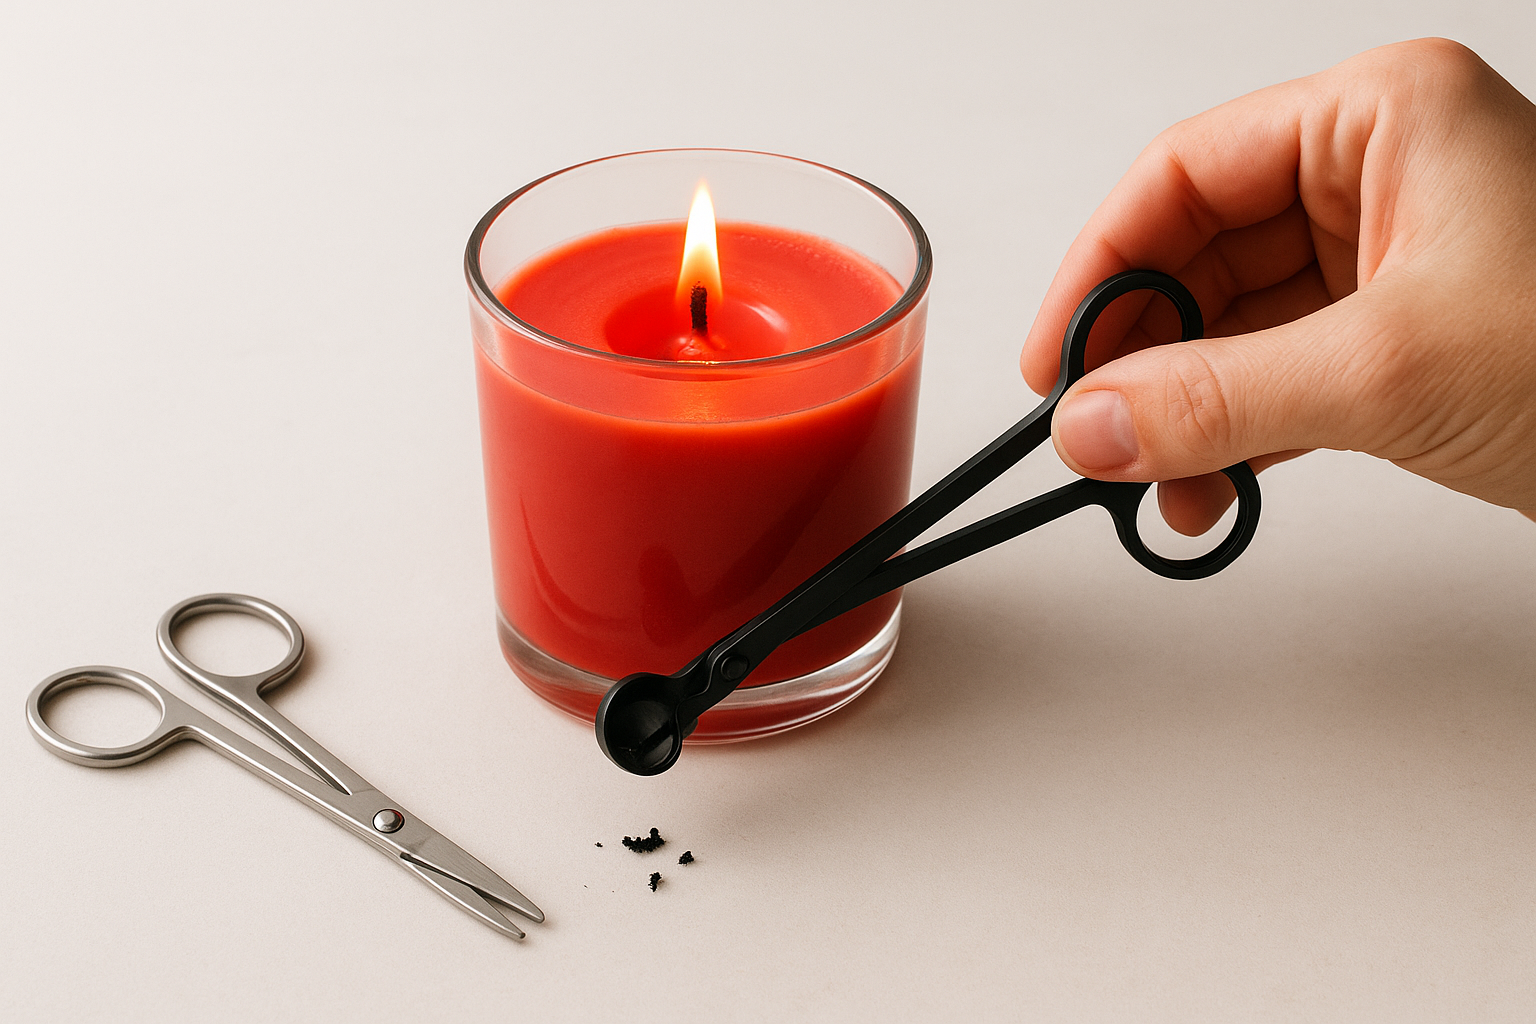
Choose the right tool for the job
Your tool choice makes a real difference in how clean and accurate your trim is. Standard scissors work on new candles, but once the wax level drops, the curved blade of a wick trimmer lets you reach the wick without your hand hovering directly over the jar. A wick trimmer also has a built-in tray that catches the clipped carbon, keeping debris out of your wax pool.
Here are the three most common trimming tools ranked by effectiveness:
| Tool | Best For | Drawback |
|---|---|---|
| Wick trimmer | All candle depths | Costs more upfront |
| Small scissors | New candles with high wax | Hard to reach deep jars |
| Fingernails | Emergency only | Imprecise, messy |
How to trim without making a mess
Always trim over a trash can or a sheet of paper so the carbon clipping doesn't fall into your wax. After you cut, check the wax surface and remove any loose debris with a dry paper towel before lighting.
Carbon bits left in the wax pool will sink, clog the wick base, and cause uneven burning in later sessions.
Step 3. Prevent soot, smoke, and tunneling while burning
Trimming the wick before every burn sets you up for success, but what happens during the burn matters just as much. Even a properly trimmed wick can produce soot or uneven melting if you burn your candle in the wrong conditions. Controlling your environment and burn time keeps each session clean from start to finish.
Keep your burn time in check
The first burn is the most critical one for preventing tunneling. Let the wax melt all the way to the edge of the container before you extinguish the flame. This typically takes one hour per inch of candle diameter, so a 3-inch jar candle needs at least 3 hours on its very first burn.
Extinguishing a candle before the wax pool reaches the edges creates a memory ring, and every future burn will follow that same shallow path, wasting wax along the walls.
After the first burn, keep each session between 2 and 4 hours. Burning longer overheats the wax, causes faster mushrooming, and forces you to reconsider how often to trim candle wick mid-session rather than just before lighting.
Control the burning environment
Drafts from open windows, fans, or vents push the flame sideways and cause uneven melting, excess flickering, and visible smoke. Set your candle on a flat, stable surface away from any air flow to keep the flame steady and the wax pool level throughout the burn.
Sunlight also works against you. Direct light distorts the wax surface and can cause discoloration over time. A calm, draft-free space gives your candle the best conditions for a clean, even burn every session.
Step 4. Fix common wick problems fast
Even when you know how often to trim candle wick and follow the schedule closely, problems can still show up mid-burn. Most wick issues have a direct cause and a straightforward fix. Catching them early saves your candle and prevents wasted wax.
When the wick won't stay lit
A wick that keeps going out usually has one of two problems: it's been cut too short, or the wax pool has drowned it. If you trimmed below 1/4 inch, the flame can't draw enough fuel to sustain itself. If the wax level has risen around the base of the wick, it physically blocks fuel flow and suffocates the flame.
A wick shorter than 1/8 inch will almost never hold a flame long enough to form a full wax pool.
Use this checklist to diagnose a wick that won't stay lit:
- Check the wick length against a ruler; it needs to be at least 1/8 inch to light reliably
- Gently absorb excess pooled wax using a paper towel before relighting
- Let the candle sit in a warmer room (above 65°F) so the wax stays softer and more workable
When the wick smokes or smells off
Visible smoke or a burning smell that doesn't match your candle's fragrance points to a wick that's still too long. Extinguish the flame, let the wax cool completely, and trim back to 1/4 inch before your next burn. Repeat this check every single session until the problem stops.
Key takeaways for safer candle burns
The core answer to how often to trim candle wick is straightforward: trim to 1/4 inch before every single burn, without exception. This one habit prevents mushrooming, controls flame height, and stops soot from building up inside your jar. A clean wick means a cleaner burn, better scent throw, and a longer-lasting candle from the first light to the last.
Beyond trimming, your burn environment and session length matter just as much as the wick itself. Keep each burn between 2 and 4 hours, let the wax reach the edges on the very first burn, and place your candle away from drafts. Starting with quality materials makes all these habits pay off even more. Small Flame's hand-poured coconut wax candles use lead-free cotton wicks specifically designed to respond well to proper trimming, so every burn you get is as clean and consistent as possible.