
Liquid Candle Dye: How To Use It In Wax (Drops & Temps)
Getting the color right in a hand-poured candle takes more than just squeezing dye into melted wax and hoping for the best. If you're learning how to use liquid candle dye, the details matter, how many drops you add, the temperature of your wax when you mix, and how you test before pouring all affect whether you end up with a rich, even color or a muddy, inconsistent batch.
At Small Flame Candle Company, we hand-pour every candle we sell, so color consistency isn't optional for us, it's part of the craft. We've worked through plenty of trial and error with liquid dyes across different wax types, and that hands-on experience is exactly what shaped this guide. Whether you're making candles at home for the first time or trying to dial in your process, the fundamentals here will save you wasted wax and frustration.
This article breaks down the full process step by step: how much liquid dye to use per pound of wax, what temperature to add it, how to test your color accurately, and common mistakes that throw everything off. Let's get into it.
What liquid candle dye does and what affects color
Liquid candle dye is an oil-soluble colorant that blends directly into melted wax at the molecular level. Unlike water-based food coloring or craft dyes, it doesn't sit on top of the wax or clump. It fully dissolves into the lipid structure of the wax, which is why liquid dye produces more even, consistent results than powdered or block dye alternatives when you apply it at the right conditions.
How liquid dye bonds with wax
When you melt wax and bring it to the right temperature, the wax molecules loosen enough to accept the dye and distribute it evenly throughout the batch. If your wax is too cool when you add the dye, the molecules haven't opened up enough, and you'll get streaking or uneven patches in the finished candle. The dye needs heat to integrate fully, which is why temperature control is one of the most critical parts of learning how to use liquid candle dye correctly.
Add your dye while the wax is still hot enough to stay fully mobile, typically between 160°F and 185°F depending on your wax type, and stir for at least 60 seconds to ensure even distribution.
Your dye is also highly concentrated, far more than it looks in the bottle. A small number of drops goes a long way, and adding too much can cause the colorant to bleed out through the finished candle, especially in softer waxes like soy. Start conservative and build up from there.
The variables that shift your final color
Several factors work together to determine what color your candle actually looks like once it cools and hardens. The type of wax you use is one of the biggest. Soy wax carries a natural creamy or off-white base, which mutes colors and makes reds look pink and blues look pastel. Paraffin is nearly clear when melted, so colors come through more vibrantly and true to the original dye.
Here are the main variables that affect your finished candle color:
| Variable | How it affects color |
|---|---|
| Wax type | Soy mutes; paraffin amplifies; coconut falls in between |
| Dye quantity | More drops deepen color, but excess causes bleeding |
| Fragrance oil | Oils with vanillin turn wax brown over time and shift your color |
| Dye temperature | Adding dye too cool prevents full integration and causes streaking |
| Pour container | Dark or tinted containers change how color reads from the outside |
Your wax base is the foundation everything else builds on. If you switch wax types mid-project, re-test your dye ratios from scratch rather than assuming your previous drop count will carry over.
What to prep before you dye wax
Good prep work cuts down on wasted batches and keeps your color results predictable. Before you touch your liquid dye, take five minutes to gather everything you need and set up your workspace properly. Skipping this step is how most beginners end up remelting wax or making color decisions based on unreliable tests done with the wrong tools.
Gather your tools and materials
You need a few specific items to work with liquid candle dye cleanly and accurately. Having everything within arm's reach before you start means you won't scramble mid-process when your wax is at the right temperature and ready for dye.
Here's a checklist of what to have ready before you begin:
- Kitchen scale (accurate to at least 0.1 oz) to weigh your wax by the pound
- Candy or digital thermometer to monitor wax temperature throughout the melt
- Liquid candle dye in your chosen color, not food coloring or water-based dye
- Dropper or pipette for precise drop control, especially in small test batches
- Dedicated pouring pitcher made of heat-safe material like stainless steel
- Stir stick or silicone spatula for mixing; avoid wood, which absorbs dye and contaminates future batches
- White paper or paper plates for cooling color test drops before you commit to a full pour
Protect your workspace
Liquid candle dye stains almost every surface it contacts, including countertops, fabric, and skin. Line your work area with parchment paper or a disposable plastic tablecloth before you open the bottle. Wear disposable gloves, because the dye absorbs through skin quickly and the stain can linger for days no matter how much you wash.
Set up your white testing surface before you melt your wax. Once you're ready to check color accuracy, having that surface ready prevents rushed decisions and cooled wax that's passed its ideal pour window.
Knowing how to use liquid candle dye correctly starts with a clean, organized workspace where every tool is in place and every variable stays under your control from the start.
Step 1. Melt wax and hit the right temp window
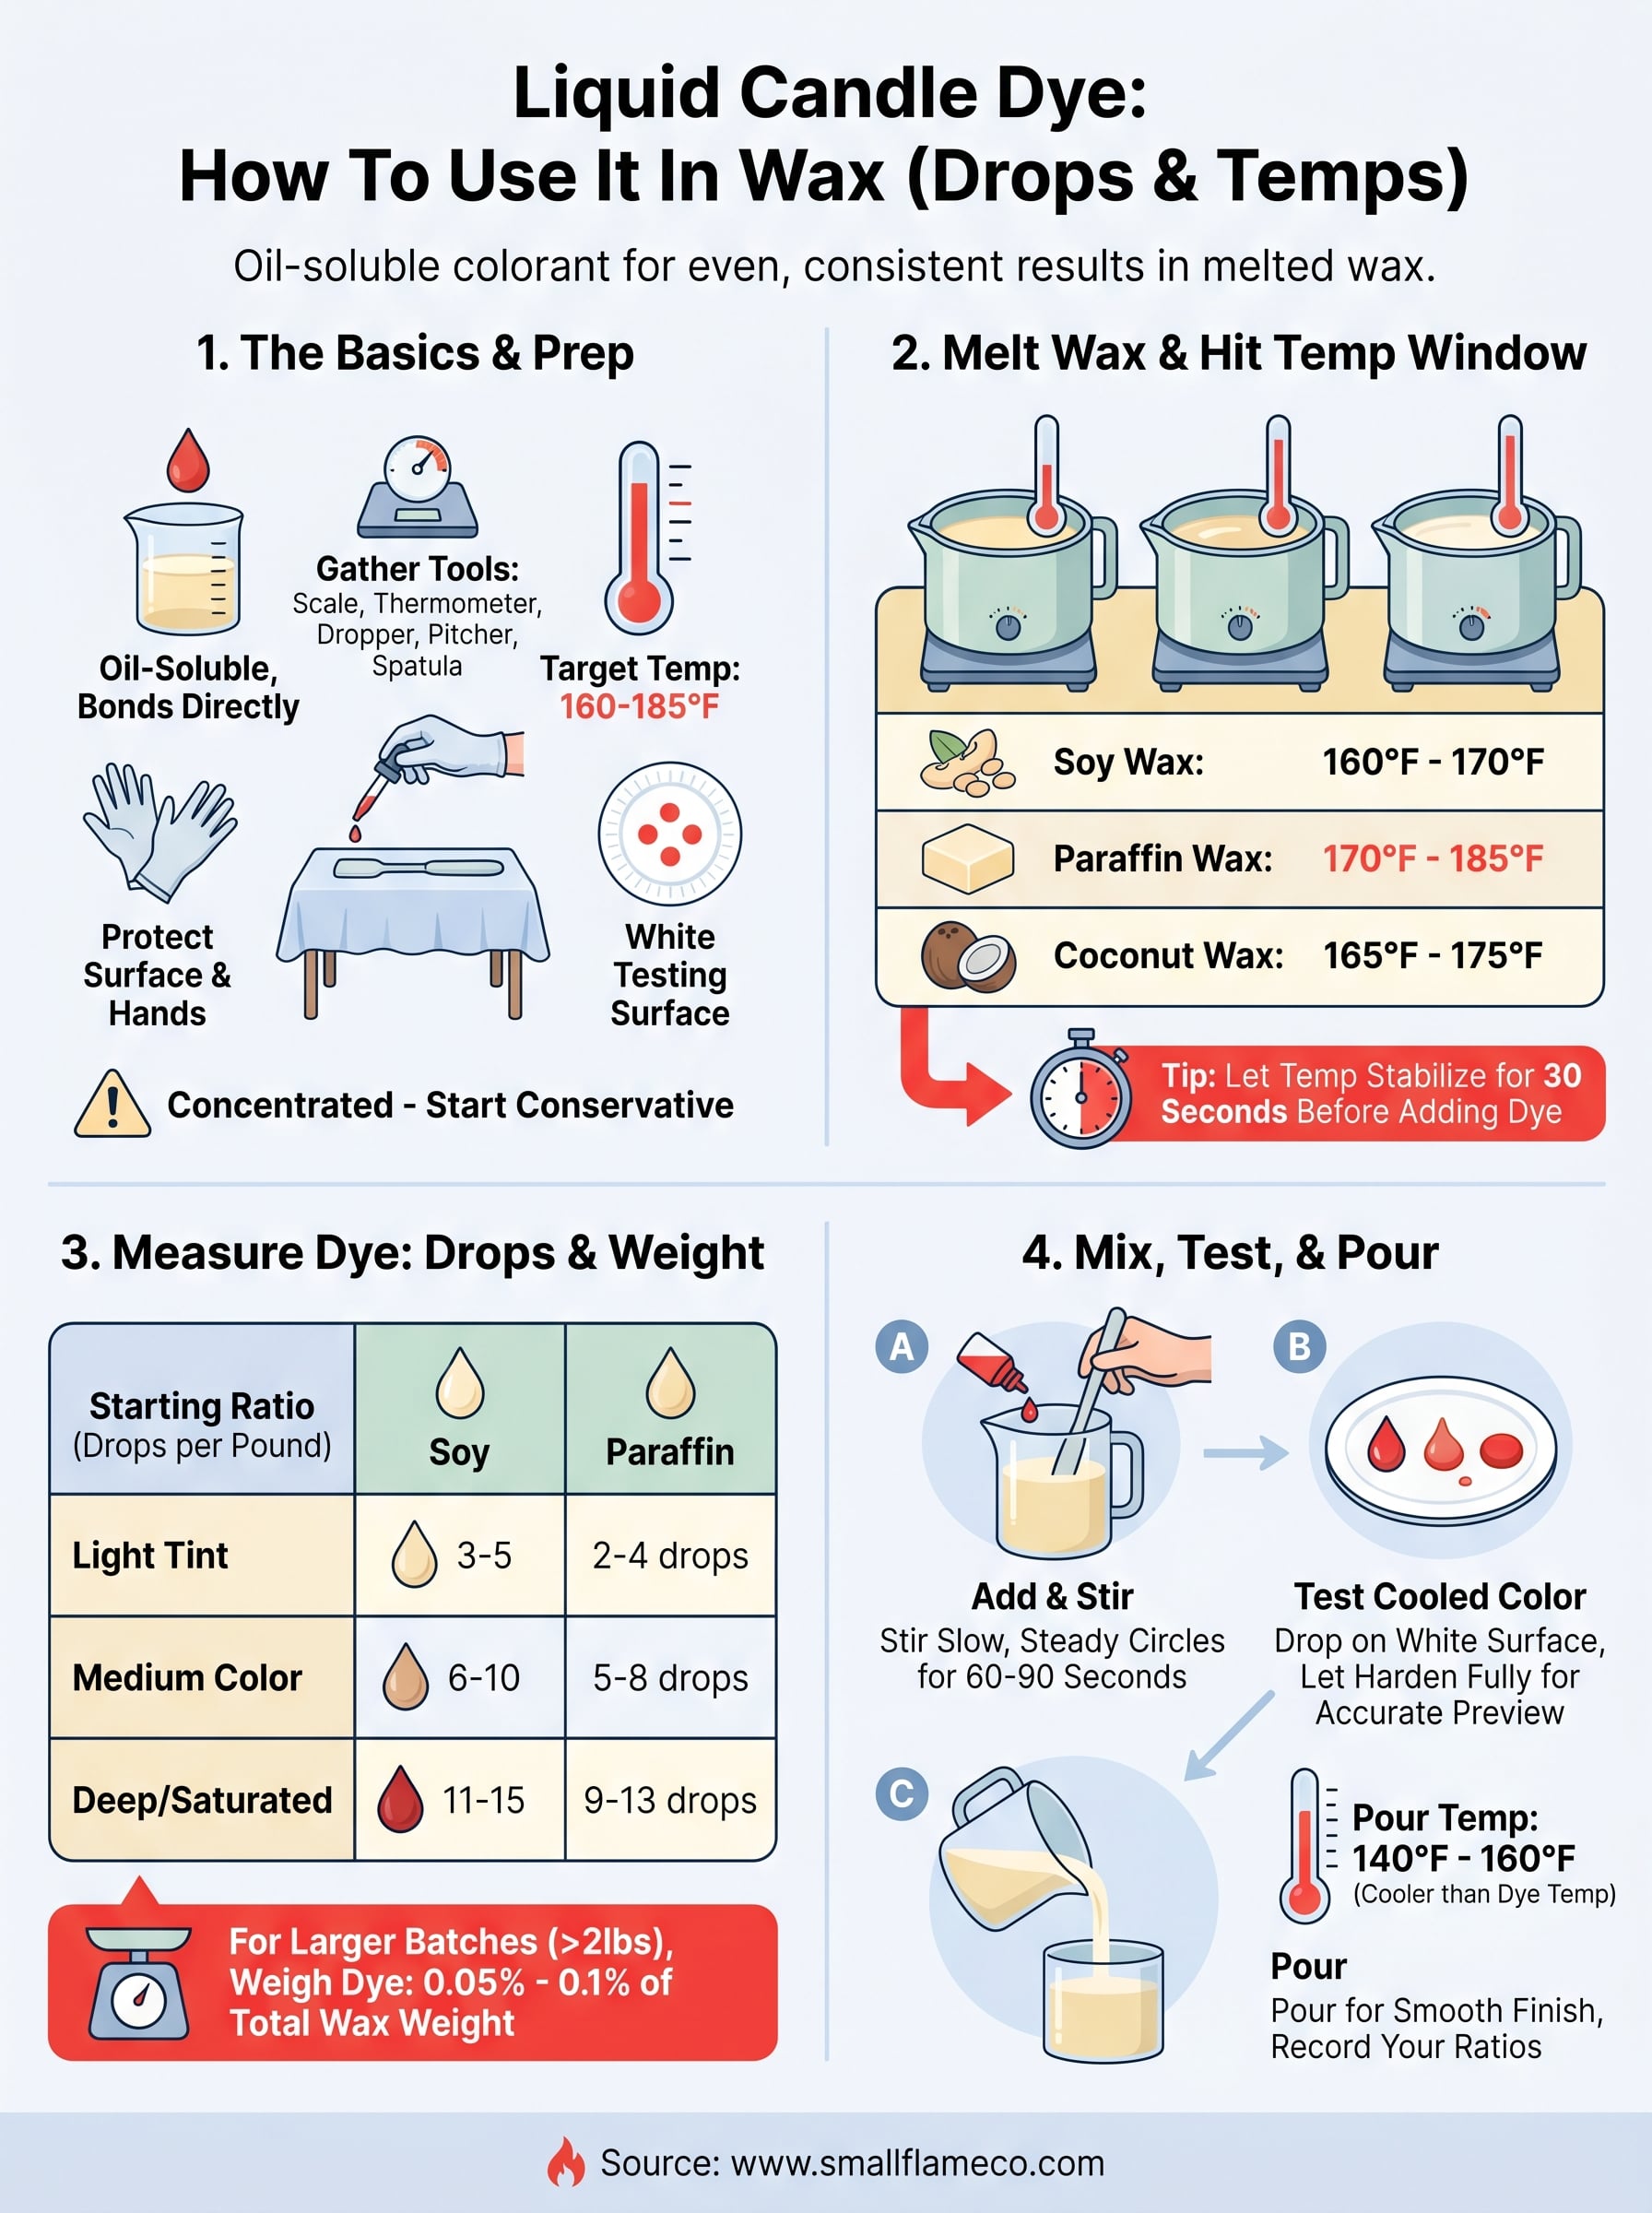
The first thing you need to control when you melt your wax is temperature. Wax that's too cool won't fully accept the dye, and wax that's too hot risks scorching your fragrance and burning off pigment. For most candle waxes, the target dye addition window falls between 160°F and 185°F, and staying inside that range is what separates clean, consistent color from a streaky batch.
Temperature ranges by wax type
Not every wax behaves the same way, so knowing the right range for your specific wax keeps you from guessing each time you start a batch. Soy wax sits on the lower end because it has a lower melt point and overheats quickly. Paraffin handles higher temperatures better and gives you more working time before the wax starts to firm up.
Use this reference when you melt your wax:
| Wax Type | Recommended Dye Addition Temp |
|---|---|
| Soy wax | 160°F to 170°F |
| Paraffin wax | 170°F to 185°F |
| Coconut wax | 165°F to 175°F |
| Blended wax | Follow the base wax in the blend |
How to know when to add dye
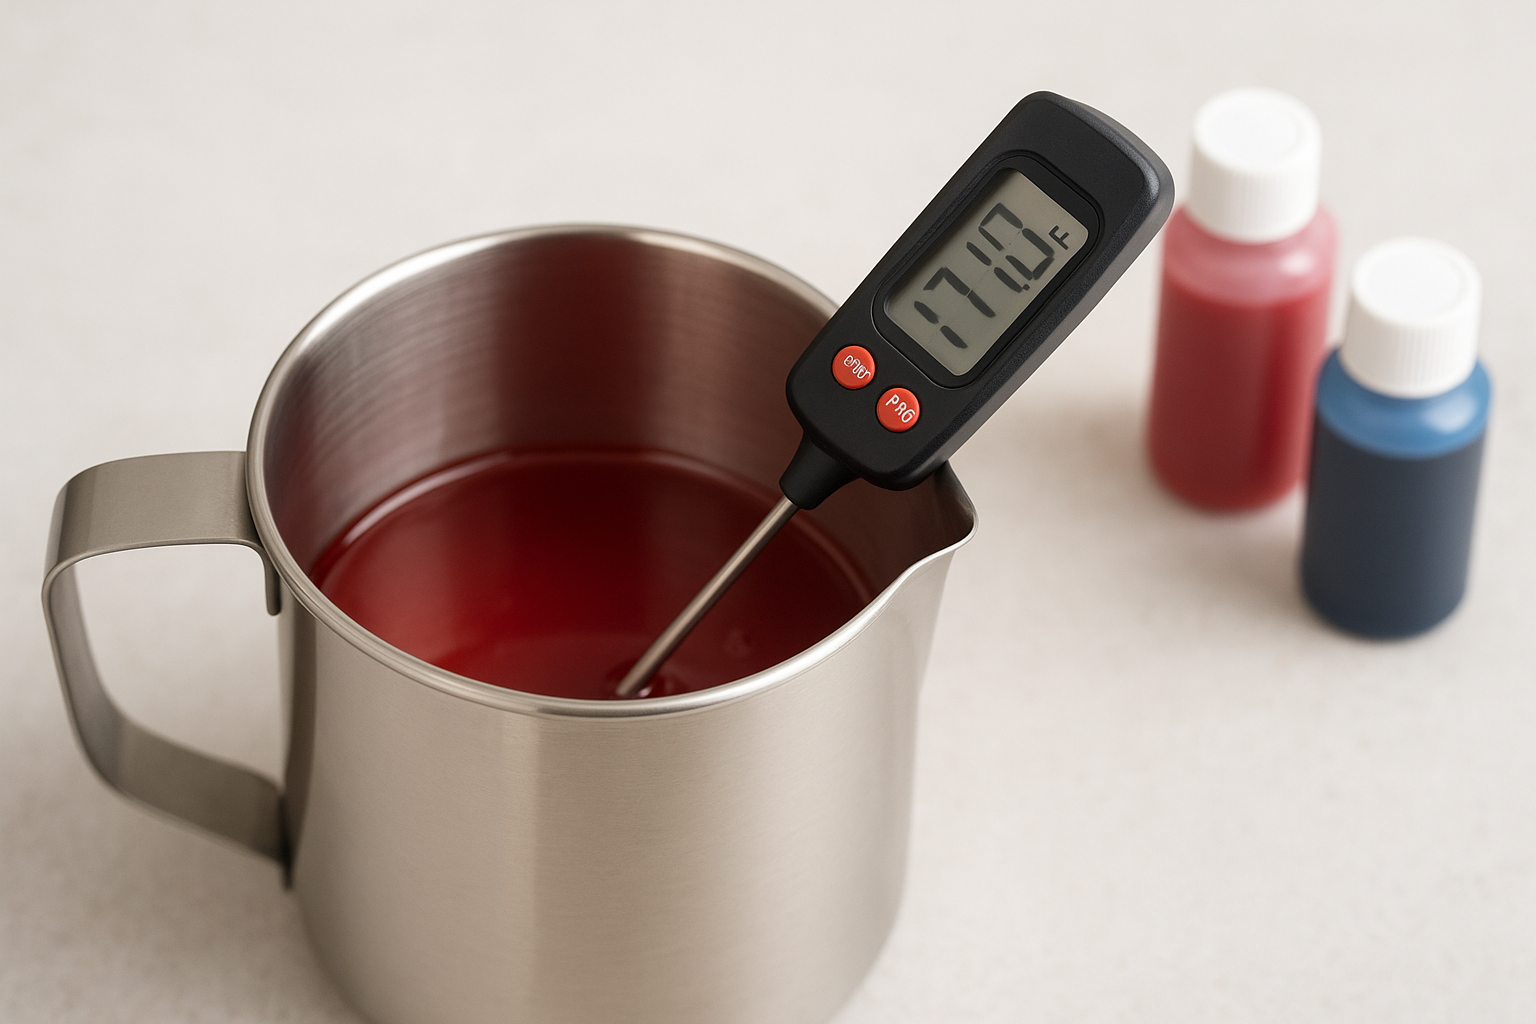
Your thermometer is your most important tool in this step. Clip it to the inside of your pouring pitcher or hold it submerged in the wax while you heat, and watch the reading actively rather than setting a timer and walking away. Once your wax hits the low end of your target range and holds steady for 30 seconds, you're ready to add dye.
Don't add your dye while wax is still climbing in temperature. Let it stabilize at your target first, so you get a consistent read on how the color will behave.
Understanding how to use liquid candle dye correctly depends on nailing this step, because color added at the wrong temperature will always look different in the finished candle than it did in the pitcher.
Step 2. Measure dye in drops and by weight
Once your wax is at temperature, how much dye you add determines whether you get a soft tint or a deep, saturated color. This step is where most beginners go wrong, either adding too much dye at once or eyeballing it without a consistent system. Learning how to use liquid candle dye accurately means treating your dye bottle like a precision tool, not a squeeze bottle you tip until it looks right.
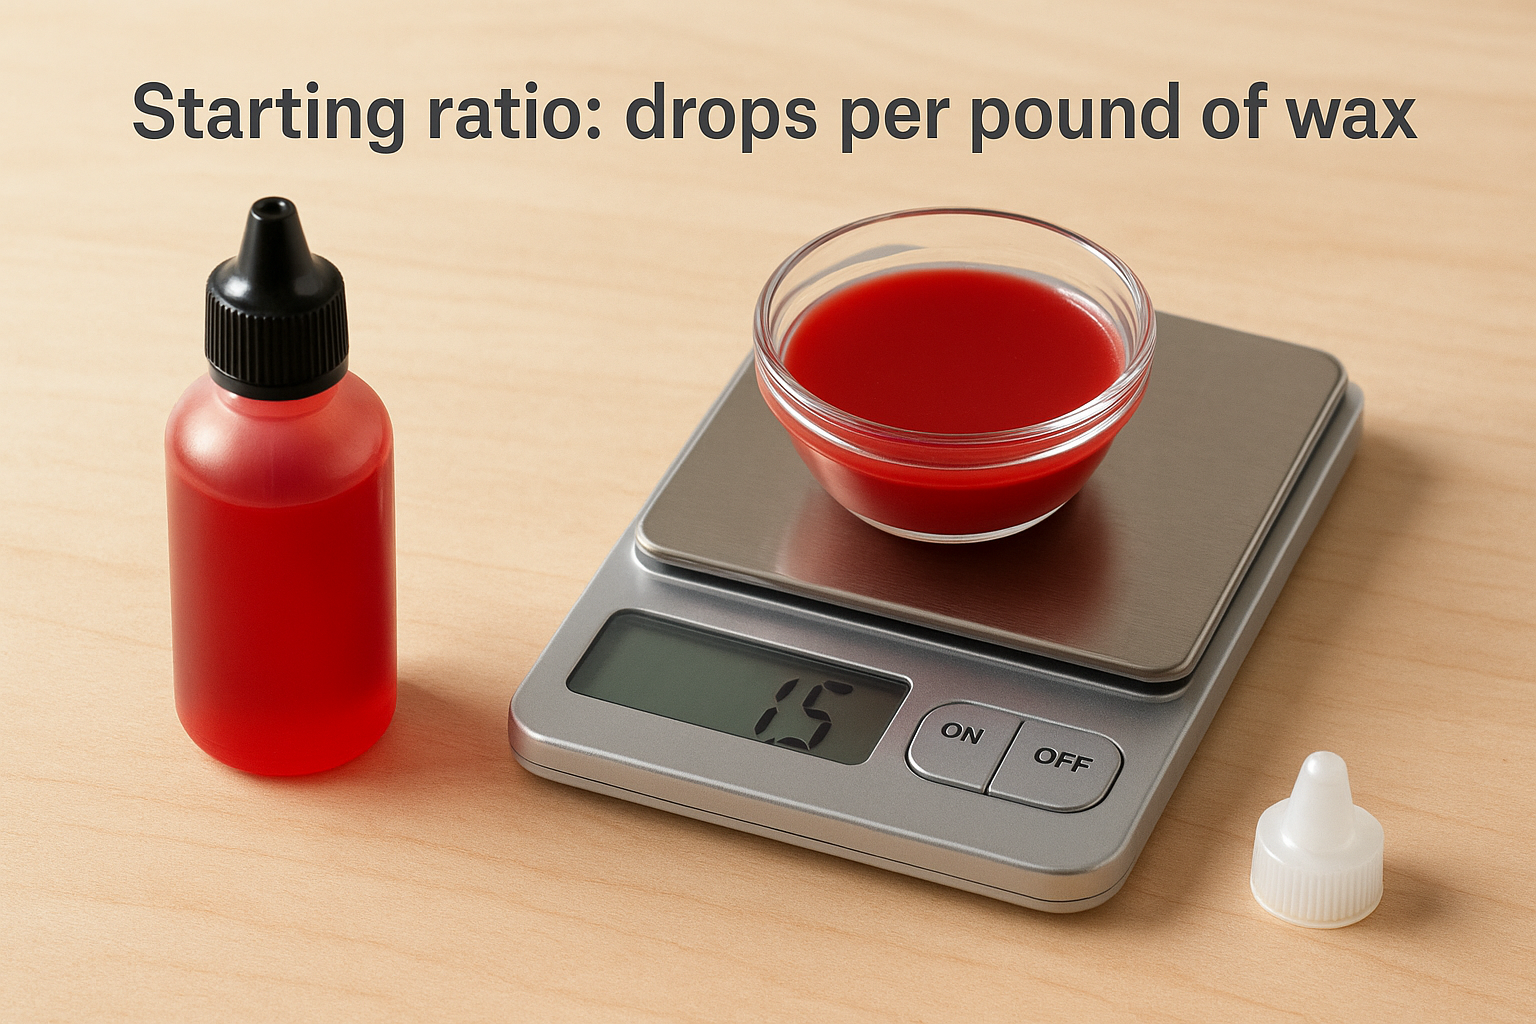
Starting ratio: drops per pound of wax
A reliable starting point for most liquid candle dyes is 5 to 10 drops per pound of wax for a medium color depth. That range gives you a real working baseline, but the exact number shifts based on your wax type, your target shade, and the specific dye brand you're using. Soy wax sits on the higher end of that range because its creamy base mutes pigment, while paraffin often needs fewer drops to reach the same visual depth.
Use this table as your starting reference before you run your own color tests:
| Color Depth | Soy Wax (drops/lb) | Paraffin (drops/lb) |
|---|---|---|
| Light tint | 3 to 5 | 2 to 4 |
| Medium color | 6 to 10 | 5 to 8 |
| Deep/saturated | 11 to 15 | 9 to 13 |
Always start at the low end of your target range, then increase by 1 to 2 drops at a time after checking a cooled test drop before you commit to a full pour.
Weighing dye for larger batches
When you scale up beyond two pounds of wax, counting drops becomes impractical and inconsistent. A single drop from a warm bottle versus a cold one can vary significantly in volume. Switch to measuring by weight on your kitchen scale instead, using 0.05% to 0.1% of dye by total wax weight as your baseline. For a five-pound batch, that means roughly 1.1 to 2.3 grams of liquid dye to start.
Step 3. Mix, test the cooled color, and pour
Once your dye is measured and your wax is at temperature, stirring technique and color testing determine whether your candle ends up with a clean, uniform finish. This step is where knowing how to use liquid candle dye pays off, because rushing through the mix or skipping the color test leads to batches that look completely different from what you expected.
Stir thoroughly and consistently
Add your measured drops or weighed amount directly into the center of the wax. Then stir in slow, steady circles for a full 60 to 90 seconds without stopping. Scraping the sides and bottom of your pitcher as you stir also matters, because pooled dye along the edges won't distribute on its own and creates visible color variation once the candle sets.
Test the color on a cold surface before you commit
Liquid dye always looks darker in melted wax than it does in the finished, cooled candle. Drop two to three small drops of dyed wax onto your white paper plate or parchment paper and let it harden fully, which takes about two minutes at room temperature. That cooled sample gives you a reliable preview of your actual candle color before you pour the full batch.
Never judge your color from the liquid wax in the pitcher. The cooled drop test is the only accurate read you have before pouring.
If the sample looks too light, add one or two more drops, stir again for 30 seconds, and run another test. If it looks too dark, add a small amount of uncolored wax to dilute the batch. Keep a notebook with your drop counts and wax weights so you can replicate results in future batches without guessing.
Pour at the right temperature
After your color test clears, check your wax temperature one more time before pouring. Most candles pour cleanly between 140°F and 160°F depending on wax type, which is cooler than your dye addition window. Pouring inside that window prevents sinkholes and surface cracks, giving your finished candle a smooth, even top.
Ready to make your next batch
You now have a complete framework for how to use liquid candle dye from prep through pour. The process comes down to four things: the right temperature window, consistent drop measurement, a cooled color test before you commit, and a notebook that records every variable so your next batch matches your last one. Every step you follow precisely gives you more control over the finished candle and fewer wasted pounds of wax.
Starting small and testing often is the fastest way to build confidence with liquid dye. Run a one-pound test batch with your specific wax and dye brand, document your drop count and temperatures, and adjust from there. The more accurate records you keep, the less guesswork you carry into larger pours.
If you want to see what clean color and careful craftsmanship look like in a finished product, browse our hand-poured coconut wax candles for inspiration on your next batch.