

Jo Malone Candle Burn Time: 5 Size Guide & Care Tips
Jo Malone candles carry a premium price tag, so knowing exactly what you're getting for your money matters. One of the most common questions buyers ask before purchasing, or right after unboxing, is about Jo Malone candle burn time. It's a fair question. When you're spending anywhere from $36 on a travel size to over $500 on a luxury candle, you want to know how many hours of fragrance you're actually getting.
Each Jo Malone candle size offers a different burn duration, and the gap between them is significant. A travel candle and a luxury candle aren't just different in wax volume, they deliver completely different experiences in terms of longevity and scent throw. Beyond size, how you care for your candle plays a huge role in whether you hit that maximum burn time or lose hours to tunneling and uneven wax pools. Proper wick trimming, first-burn habits, and storage all factor into the equation.
In this guide, we break down the burn times for all five Jo Malone candle sizes, from the compact Travel all the way up to the Luxury. We also cover practical care tips to help you get every last hour out of your investment. As hand-poured candle makers ourselves at Small Flame Candle Company, we know firsthand how much craftsmanship and burn habits affect a candle's lifespan, so we're sharing what actually works, not just what's printed on the box.
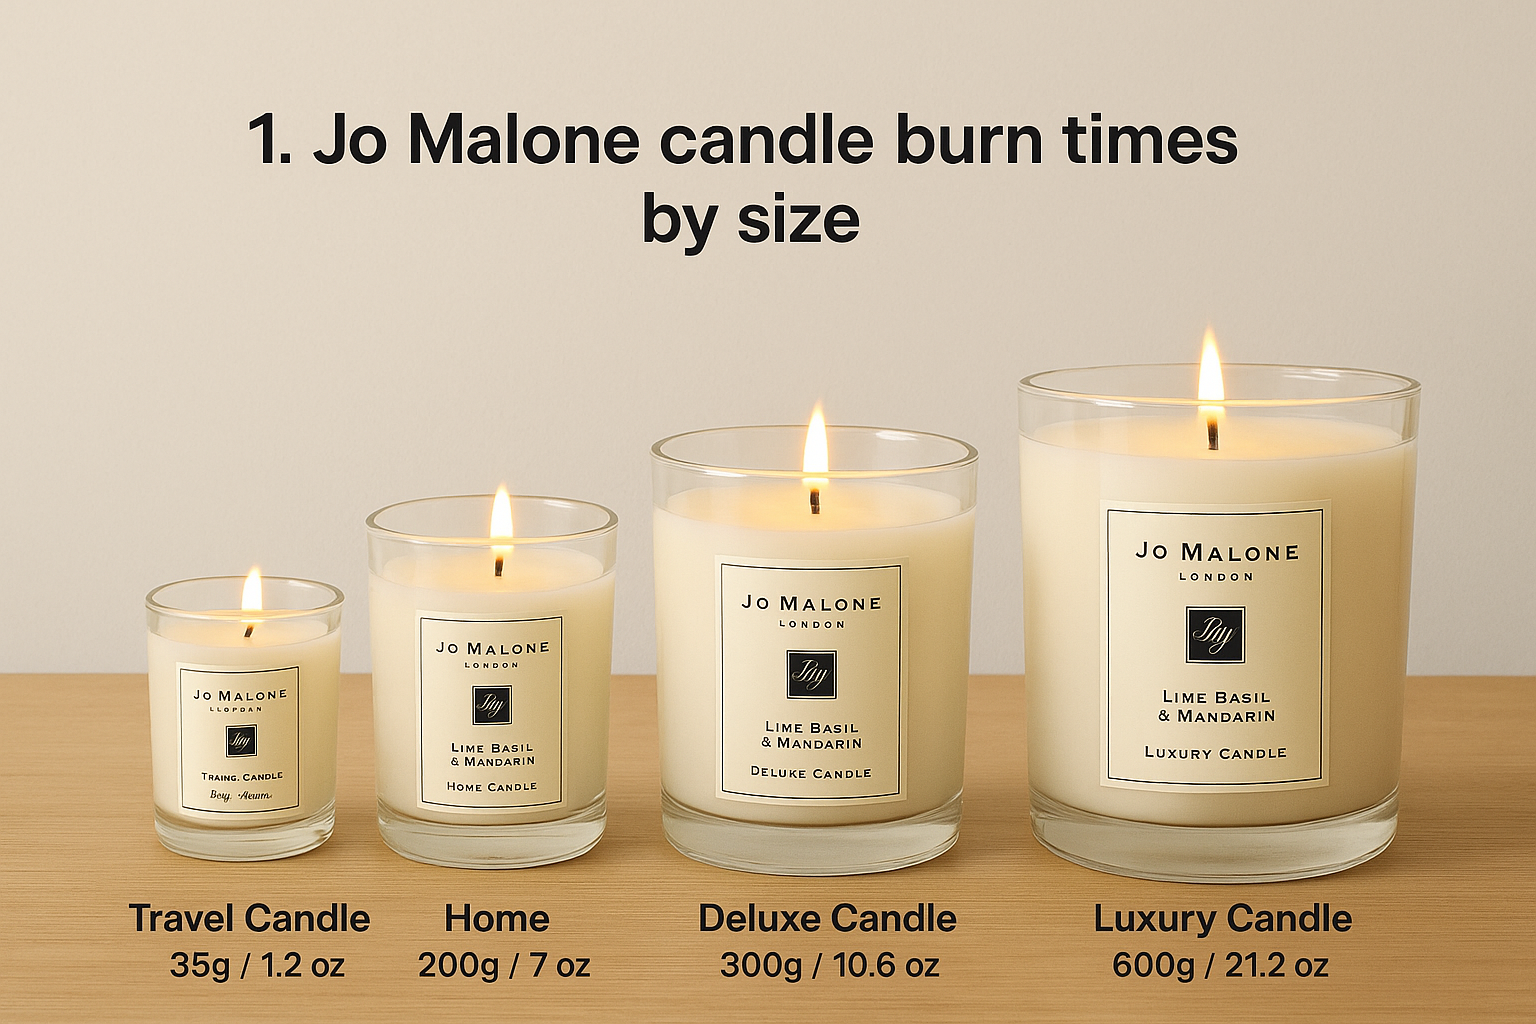
1. Jo Malone candle burn times by size
Understanding the jo malone candle burn time for each size lets you calculate cost-per-hour and decide which option fits your budget and how often you burn candles. Jo Malone produces four main candle sizes, and each one delivers a noticeably different lifespan.
What you'll get from this tip
Knowing the burn time for your specific candle size sets realistic expectations before you light it for the first time. You'll be able to plan your burn sessions better and avoid burning through an expensive candle in just a few sittings without realizing it.
The key rule to follow
Always match your candle size to your intended use. A Travel Candle works well for short, occasional sessions, while a Luxury Candle suits someone who burns candles daily over several months. Buying the wrong size for your habits wastes money fast.
The burn time on the label assumes ideal conditions, including a trimmed wick, still air, and consistent burn sessions of two to four hours.
How to do it step by step
Start by identifying which size you own or plan to buy, then check the table below for its expected burn range:
| Size | Weight | Burn Time |
|---|---|---|
| Travel Candle | 35g / 1.2 oz | Up to 25 hours |
| Home Candle | 200g / 7 oz | Up to 45 hours |
| Deluxe Candle | 300g / 10.6 oz | Up to 65 hours |
| Luxury Candle | 600g / 21.2 oz | Up to 200 hours |
Use these figures as your upper limit targets, not guaranteed results. Your actual burn time depends heavily on how well you maintain the candle between uses.
Troubleshooting and common mistakes
Most people undercut their burn time by lighting a candle for less than two hours in a single session, which encourages tunneling and wastes wax on the edges. If your candle burns faster than expected, check your session length first before blaming the product.
2. Follow the first burn rule to stop tunneling
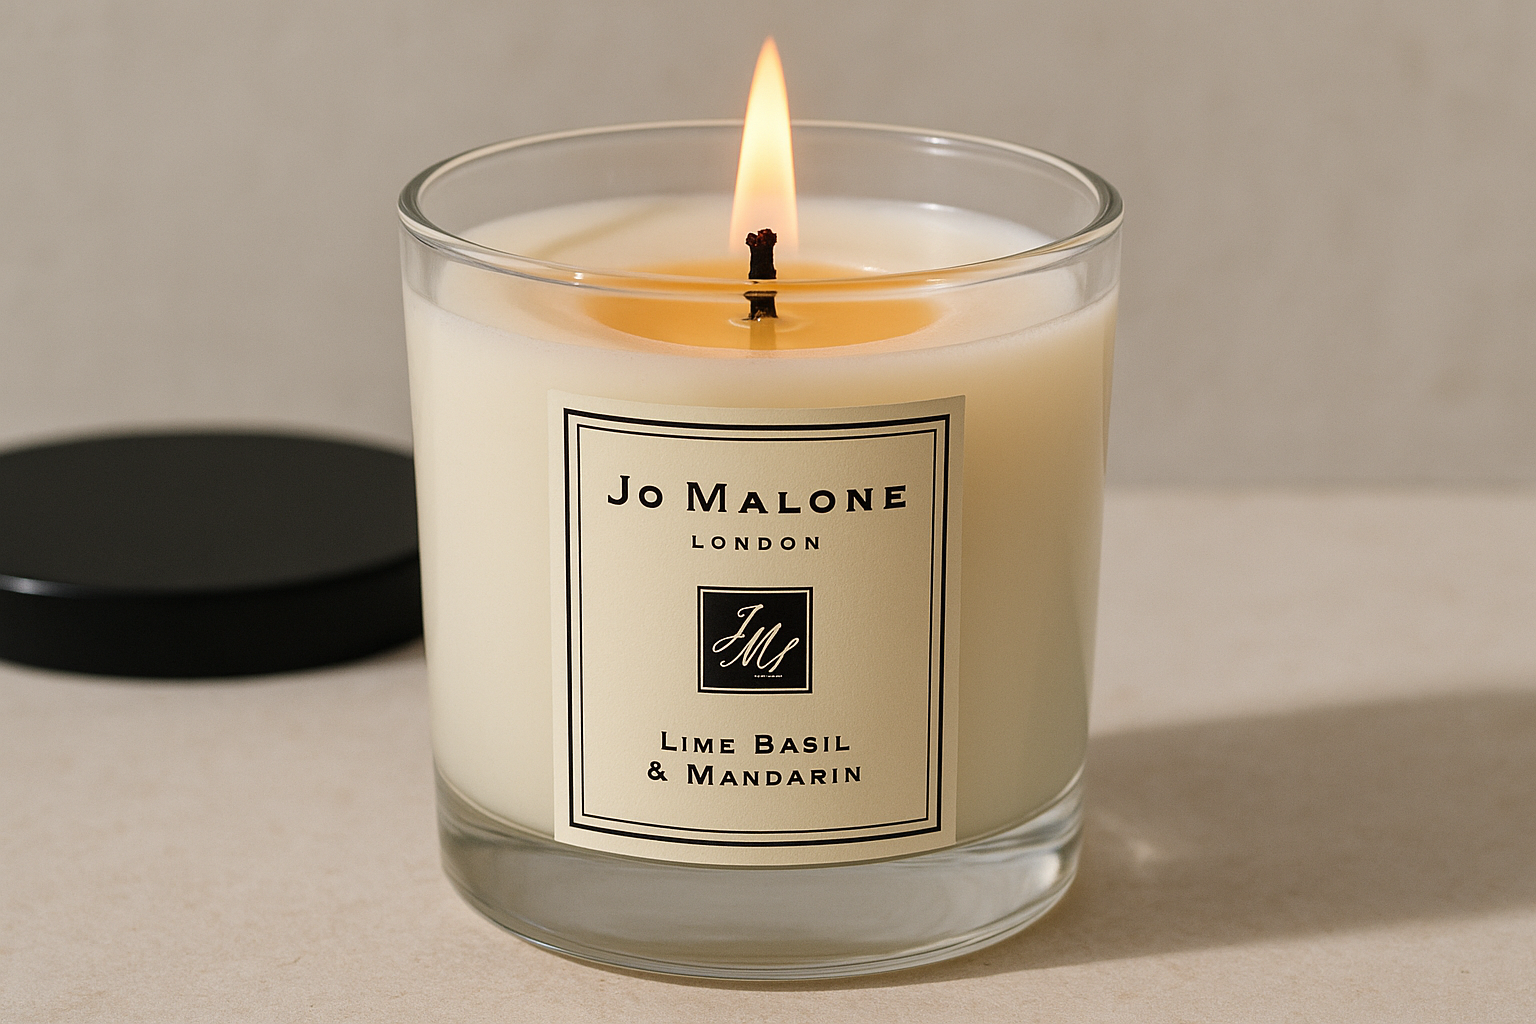
The first burn is the most critical session for any Jo Malone candle. Skipping it can permanently damage the wax pool and cost you hours of your jo malone candle burn time through tunneling that begins from the very first light.
What you'll get from this tip
Following this rule creates a full melt pool across the entire candle surface. That even pool sets a wax memory, so every future burn follows the same pattern and prevents tunneling from carving down the center.
The key rule to follow
Burn your candle long enough on the first session for the melt pool to reach the edge of the glass, which usually takes two to four hours depending on the size.
Never light a new candle and extinguish it after 30 minutes, because that shallow melt pool becomes a permanent pattern in the wax.
How to do it step by step
Set aside enough time before you light the candle for the first session to run its full course without interruption.
- Let it burn until the wax pool touches the jar's edge
- Keep the session under four hours maximum
- Extinguish only after a complete melt pool has formed
Troubleshooting and common mistakes
If you already notice a tunnel, a longer next session may help the pool catch up slightly. But tunneling that starts on the first burn is very hard to reverse and will typically persist through the candle's entire lifespan.
3. Trim the wick the right way for a clean burn
A long or mushroomed wick burns hotter than it should, which speeds through your wax and cuts into your jo malone candle burn time. Wick maintenance takes less than a minute but directly affects how cleanly and how long your candle performs.
What you'll get from this tip
Trimming your wick keeps the flame at the right height, which means slower, cleaner combustion and less soot on the glass. You also reduce the chance of uneven burning and black smoke that ruins the scent experience.
The key rule to follow
Trim the wick to 1/4 inch (6mm) before every single burn, including the very first one.
Skipping even one trim session allows carbon buildup on the wick tip, which creates a larger, hotter flame that burns through wax faster.
How to do it step by step
Use the right tool and follow a consistent routine to keep every burn clean:
- Let the candle cool completely before trimming
- Use wick trimmers or small scissors to cut the wick to 1/4 inch
- Remove all trimmings from the wax pool before relighting
Troubleshooting and common mistakes
If your flame looks oversized or flickers constantly, your wick is too long. Extinguish the candle, let it cool, then trim and relight. Never trim a wick while the wax is still liquid, because the clipping can fall in and block the wick entirely.
4. Control airflow and room conditions while burning
Where you place your candle and what happens in the room around it directly affects your jo malone candle burn time. Drafts, fans, and open windows force the flame to flicker, which leads to uneven burning and faster wax consumption.
What you'll get from this tip
Controlling your environment keeps the flame steady and the melt pool uniform across the surface. A stable burn means you use your wax at a predictable rate and reach the full listed burn hours from your candle.
The key rule to follow
Keep your candle away from any source of moving air, including vents, open windows, and fans. A still room produces the cleanest, most efficient burn.
Flickering flames can burn through wax significantly faster than a steady flame and push the wick off-center over time.
How to do it step by step
Before lighting, scan the room for airflow sources and make adjustments first.
- Place the candle on a flat, heat-resistant surface away from vents
- Close nearby windows or doors before you light it
- Keep the candle at least 12 inches from other objects and heat sources
Troubleshooting and common mistakes
If your flame flickers constantly indoors, check for hidden airflow like ceiling fans on low or gaps under doors. Moving the candle even a few feet can make a meaningful difference in how evenly your wax melts.
5. Extinguish, cool, and store to protect scent
How you end each burn session protects your investment. The wrong extinguishing method can damage the wick and weaken the fragrance throw over time, cutting into your total jo malone candle burn time before the wax even runs out.
What you'll get from this tip
Correct extinguishing and storage keep both the wax quality and the fragrance oils intact, so each burn session smells as strong as the first. You preserve every hour you paid for.
The key rule to follow
Use a candle snuffer instead of blowing out the flame. Blowing sends soot into the wax pool and pushes the wick off-center.
A displaced wick leads to uneven burning in every subsequent session, compounding the damage over the candle's lifetime.
How to do it step by step
Follow this routine after every session to protect both the wax and the scent:
- Wait for the wax to solidify completely before capping
- Store the candle away from sunlight and heat sources
- Keep the lid secured between burns to slow fragrance evaporation
Troubleshooting and common mistakes
If your candle's scent fades faster than expected, heat or light exposure during storage is usually the problem. Move it somewhere cool and dark, and always replace the lid immediately after the wax sets.
Final takeaways
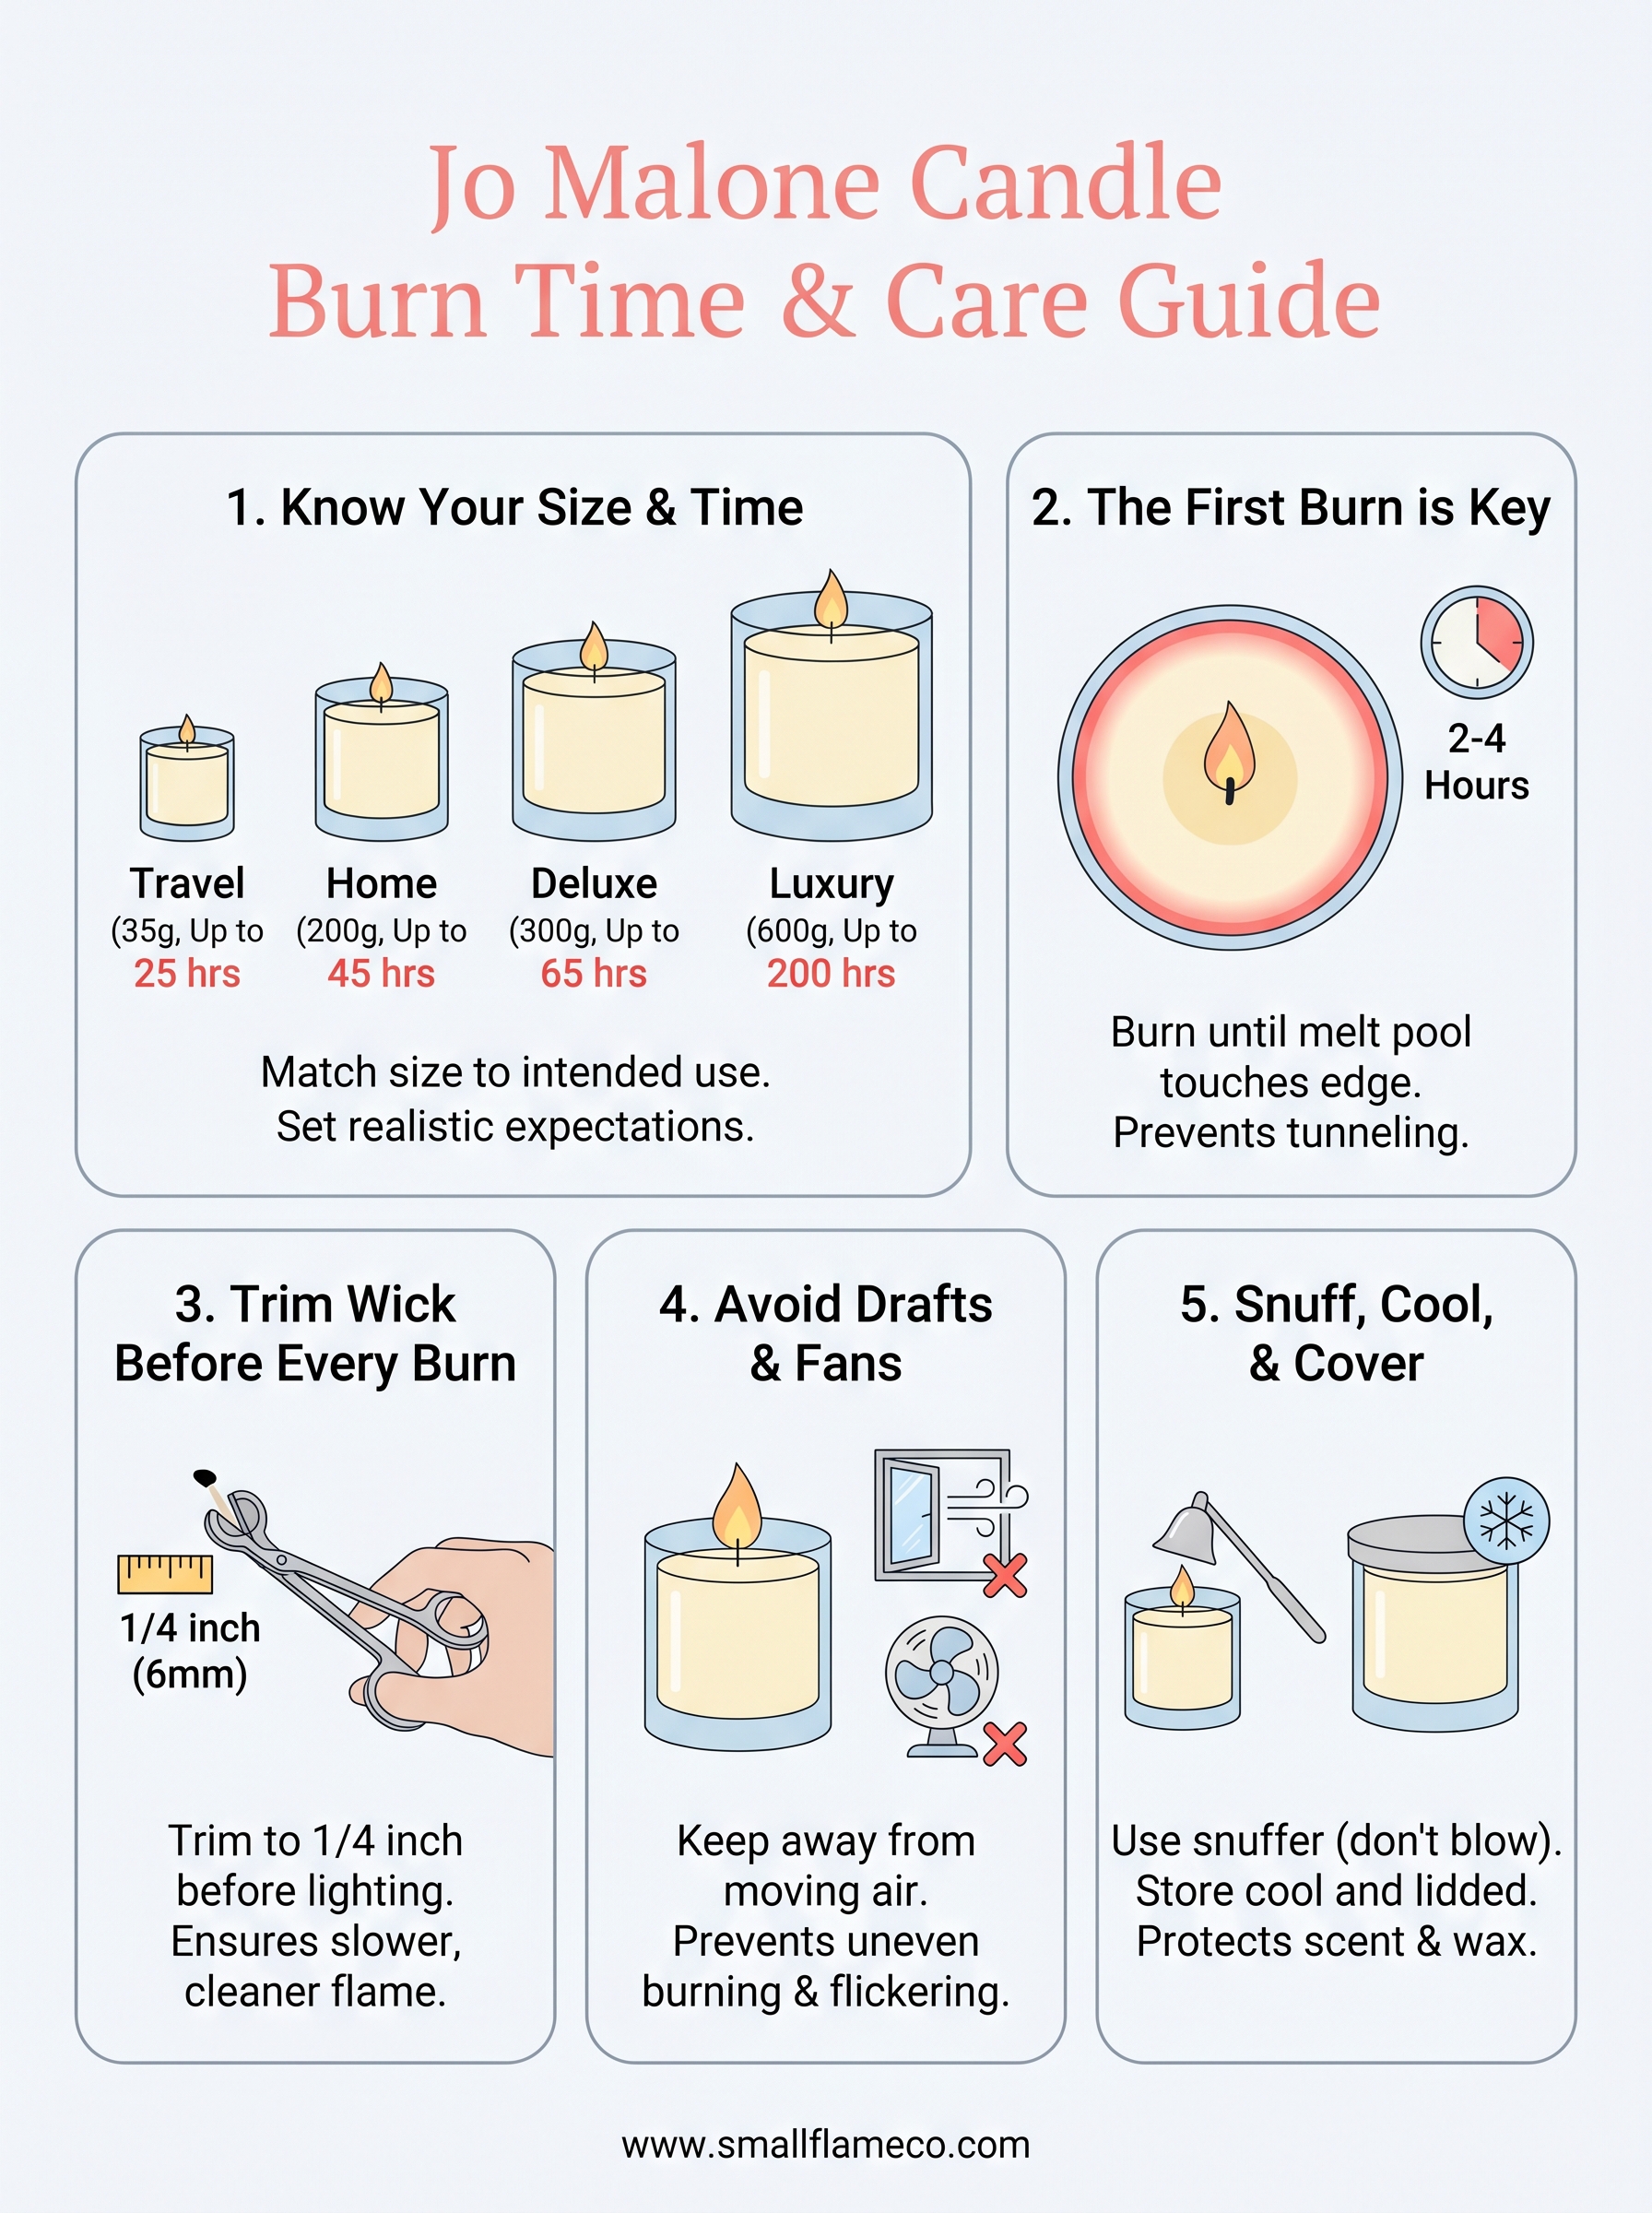
Getting the most from your jo malone candle burn time comes down to a handful of consistent habits, not luck. You now know the burn ranges for all four sizes, from 25 hours on the Travel Candle up to 200 hours on the Luxury. More importantly, you know that the label's maximum figure only happens when you follow the rules: a proper first burn, trimmed wicks, still air, and correct storage between sessions. Skip any one of these steps and you chip away at those hours before the candle is halfway through.
Candle care principles apply across every brand and wax type. If you enjoy hand-poured candles built for a clean, long-lasting burn at a fraction of the luxury price, browse the coconut wax candle collection at Small Flame Candle Co. and find a fragrance that fits your space and budget.